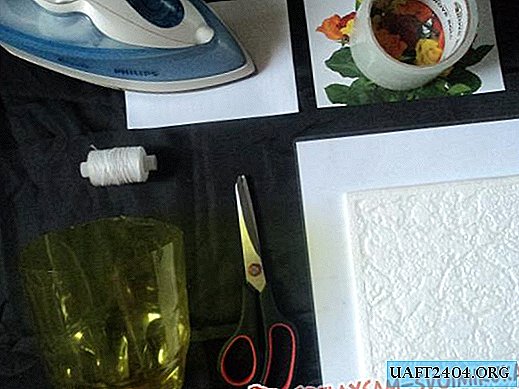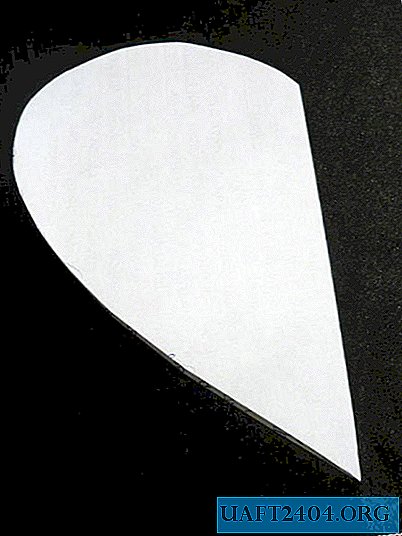

First, cut out a heart-shaped pattern: fold a sheet of paper in half, draw a half of the part. Cut, straighten - get a neat, completely symmetrical heart.
The template is transferred to medium-density white cardboard.
Since this heart is a postcard, it is better to write a congratulatory text right away on a white background. At the end of the work, this will be inconvenient.

For the main part of the work you will need colored paper towels, glue (any), scissors, a stapler. Napkins are sold in a large assortment, but it is better to choose thin, soft, cheapest.

Fold one napkin in half twice. Fasten the middle with a stapler.

Trim the resulting square around the perimeter. You should get a circle (not necessarily a perfect shape).

Take the top layer of paper, press it to the center.

To the first layer, apply the second, then the third and subsequent layers of the napkin. Leave only the bottom two or three layers that will stick to the card.

Such flower blanks to make 10-15 pieces, depending on the size of the template cards.


Flowers adhere to the heart-base tightly to each other. Spread the crumpled core to fluff the flower.
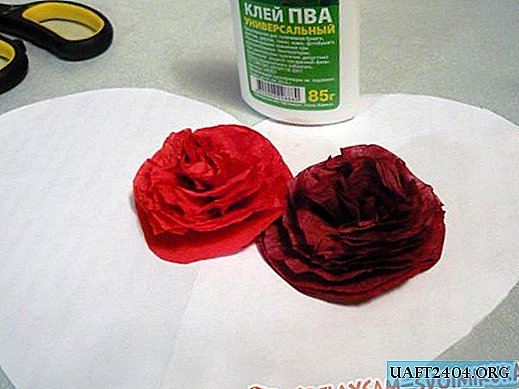
Different color combinations of elements will look beautiful. To do this, use wipes of different colors.

If you did not write a congratulation on a postcard before starting work, then at this stage it is not too convenient to do it - flowers will come in. Although here you can find a way out: write on a separate piece of paper and stick it to the Valentine.

You can add flowers not only from four folded napkin squares. If they are cut into four parts, fastened with a stapler, you will get blanks for even smaller flowers. They can also lay out the surface of the heart, or fill in the empty spaces between large flowers.

