Share
Pin
Tweet
Send
Share
Send


After our cat once again marked the underwear, my wife and I agreed that we needed a new basket that would not be available to him.
The result of my work was a five-bag laundry basket made of plastic pipes, a fitting, clamps, cloth, several laundry bags and safety pins.
Basket drawing


Here is what I have in mind. I decided to make a basket with a lid (so that the cat could not get to the laundry). Of course, it is not required. But with the help of a fastener from plastic pipes, you can do interesting things.
Preparation of materials

I made the basket frame out of plastic.
Below I will list what I used.
All elements with a diameter of 12 mm.
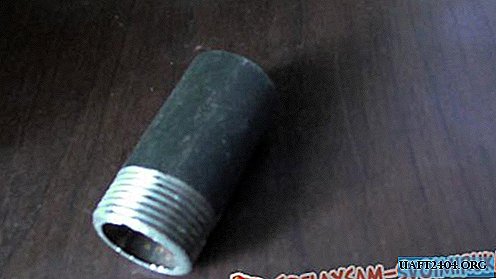
Fasteners for pipes - they serve for fastening pipes (without interacting with the liquid in the pipes), although for these purposes you can use standard fittings.
8 spatial tees (for corners)
5 tees (for intermediate mounts and top of cover)
11 T-shaped couplings (for attaching the base under the bags and for use as hinges for the lid)
2 taps (for lid corners)
Clamps
Clips will serve for fastening fabric on the lid and laundry bags on the frame.
-12 for bags.
-12 for fabric on the cover.
-Pipe length.
With length, everything is simple. The basket is one meter high and two wide. Therefore, I cut the pipes into two lengths. All pipes were 12 mm in diameter.
-16 lengths of one meter (4 for the bottom, 4 for the top, 6 for the uprights and 2 for the cover).
-11 segments of 50 cm (two for the bottom, 6 for the top, 3 for the cover).
But you can build on the size of laundry bags.
Other things.
- 5 bags for dirty laundry.
- a piece of cloth for the cover.
- several safety pins for attaching fabric.
Frame made of plastic pipes


I started by assembling the bottom. I inserted the uprights and then made the top of the frame.
Notice how I put the T-couplings on the pipe. On one side I used 3, and on the other 4. An additional coupling served to strengthen the middle of the cover.
When choosing the length of pipes for the cap I had to think. Because the loops are a bit off-set and I had to cut one of the upper pipes so that it fits with the offset. I measured this pipe already at the assembly stage, noting and sawing off the excess part with a hacksaw.
I did not stick plastic elements together. The fitting and couplings held tight enough.
Fastening bags and fabric for the lid


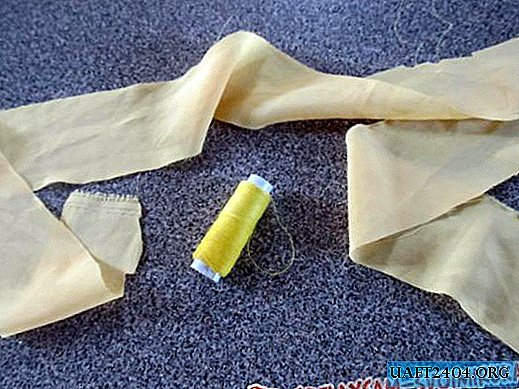
Laundry bags were secured with clips. With such devices, this is easy and convenient. Bags can be removed for washing or replacement.
My wife found an inexpensive cloth, which we pulled on the lid, securing it with clips, and pinned the edges with safety pins.
Done.
Here is my DIY handmade basket with a lid for sorting clothes
Pretty simple and comfortable.
And yet, the cat will not get into it.
Share
Pin
Tweet
Send
Share
Send