Share
Pin
Tweet
Send
Share
Send
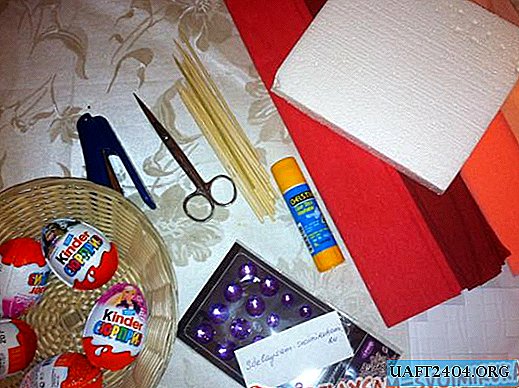
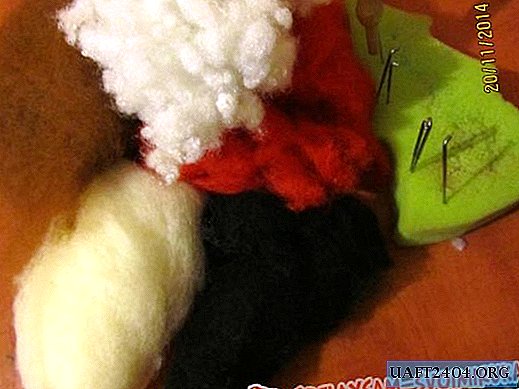
Right now we will consider together with you such a master class with which we will learn how to make Christmas bells with a cock using the decoupage technique. For the manufacture we take:
- Three large foam bells;
- Napkins for decoupage with a rooster and other New Year's elements, we take napkins with medium-sized drawings so that they are easy to apply and look beautiful on the bells;
- PVA glue;
- Glossy varnish (we take an acrylic construction varnish, which is non-toxic and without a pungent odor);
- Kitchen sponge;
- Floristic wire;
- Nippers for needlework;
- Fan brush for applying varnish;
- Cord twine;
- Wooden sticks;
- Organza ribbons are red and green;
- Scissors;
- A bowl to pour glue and varnish;
- If there are dry spangles, berries in sugar, you can decorate our bells at the end.

First of all, we need to make loops on top of the bells to hang them when drying, and fasten the ribbons at the end. With nippers we bite off three pieces of wire of 6-7 cm each.


We bend and insert such loops into the bells from above, now we thread the twine into them, then to hang up the toys to dry.


Pour into the PVA tank. Cut off a piece of sponge and cover with a sponge all three bells with glue. We make such a stand and hang the bells to dry.


We are waiting for complete drying.


Now we take napkins, remove the topmost layer from all and carefully separate individual fragments. The smaller the drawings, the better, more beautiful and easier to work with them.


Now we take the bells, and the picture for the picture we fix our pictures with the help of glue mixture. And the glue mixture in us consists of equal proportions of PVA glue and water, everything is thoroughly mixed. We hang the bells to dry again.


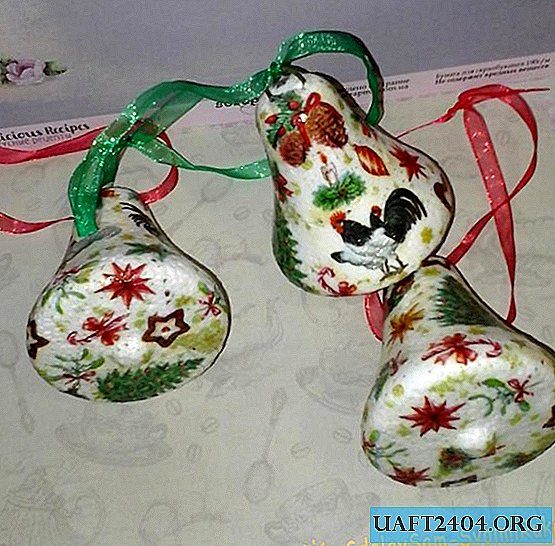
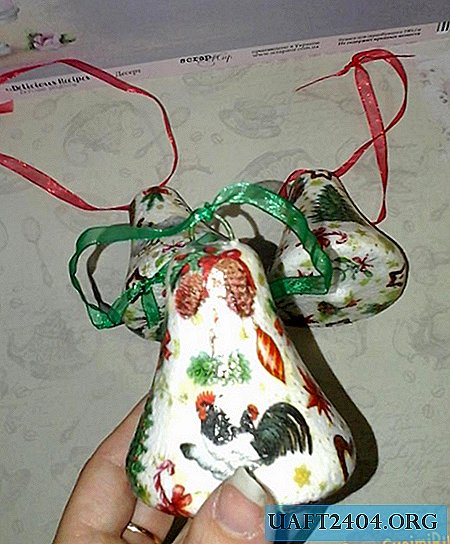
Now we cover our bells with at least five layers of varnish. We dry each separately. Now we pass the ribbons and you're done. Such bright New Year's toys turned out here. Thanks for your attention! Good luck to all!


Share
Pin
Tweet
Send
Share
Send