Share
Pin
Tweet
Send
Share
Send
This design is assembled from ordinary office paper, without glue and consists of 30 modules. The ball can be disassembled if necessary, then reassemble.
We will need:
- office paper of any desired color, even white;
- scissors;
- printer (for printing modules).
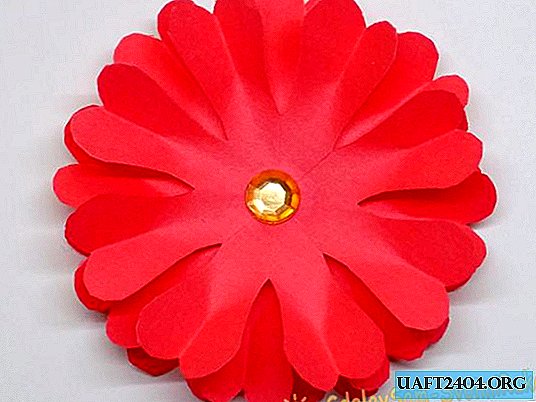
So let's get started. For the color of the ball, I chose plain red office paper. To get a small ball, I placed 3 modules in Microsoft Word on one sheet. Total will need 10 sheets.
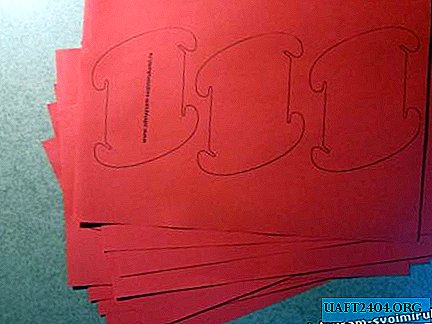
It's no secret that you can cut several sheets at once. We print one sheet on the printer, then we lay 3-4 clean sheets under it and fasten them with paper clips, then you can cut it according to the template. As a result, 4 sheets - get 12 modules.
As you have already noticed, there is a label in the form of a small circle on the module, it will be a guide. All modules must be folded as in the photo, that is, circles in the upper right corner. Thus, it will be the outside of the ball, so as not to get confused.

Now the main build process. First you need to know where the label is, in that place 5 modules are attached, another 5 diagonally at the other end, that is, in the lower left corner, and 3 modules are attached to the remaining corners.
Start of assembly.

Assembly of the first two modules.

We catch the third.


5 modules are assembled.
The view from the outside.

Inside view.

Next row of 3 modules.

Assembled design of the second 2 rows.
The view from the outside.

Inside view.

Further, according to the principles of 5 and 3, the ball is going to continue, the main thing is to watch, in places where 3 modules - 5 will no longer fit, it is almost impossible to make a mistake. The ball will come out of exactly 30 modules.


So, the ball is ready of 29 modules, the last one left, here it will be a little more difficult to hook it, so it is carefully inserted and fastened with the rest of the modules.

The result is such a ball. You can use it for the Christmas tree, but it will be too big, in this case, you need to place 6-7 modules on one sheet. With the same success, you can make a ball of enormous size, placing 1 module on a sheet, but here you need thicker paper to give rigidity to the structure.
Another interesting point. Modules can be of different colors, for example, in the photo below I used white and red.

Once the ability to assemble modules appears, you can put your imagination into action, because any design can be assembled from such modules, for example, not a ball, and I don’t use another form of assembly principle 5 and 3, where there are more modules, somewhere less . Also this design can be used as a lampshade of a chandelier. The appropriate paper is selected - in the middle there will be a light bulb.
Experiment! Good luck in the assembly.
download template
Share
Pin
Tweet
Send
Share
Send