Share
Pin
Tweet
Send
Share
Send
So, we will prepare:
1. Cardboard tight A4 of green color - for a basis;
2. Design paper green with polka dots (you can use cardboard green shades with a different pattern, for example, in a strip);
3. 3-4 types of cardboard or designer paper in green shades - with patterns, plain;
4. Cardboard - brown, white, milk (if not, you can take white), orange;
5. Foamed double-sided tape;
6. Black gel pen;
7. Glue, small scissors, a simple pencil, a ruler.
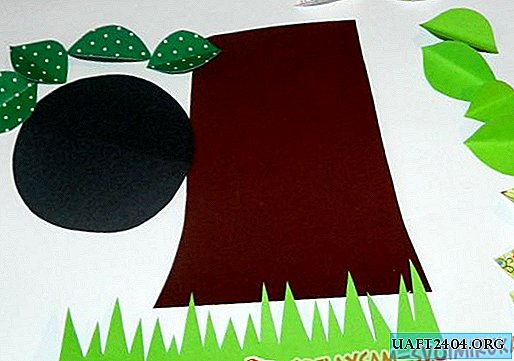
We begin to carry out the elements of our postcard. To do this, take a brown cardboard and cut out of it a tree whose height will be 12 cm, the width below 11, the width of the tree above about 8 cm.
We make “grass” from green cardboard, the width of which will be 13 cm.
From black cardboard or thick paper we cut a circle with a diameter of 8 cm. Its shape does not have to be perfectly round, as this will be “hollow” for our owls, so the use of a compass is not necessary.
From different paper in green shades (with patterns, plain, polka dots) we make leaves, the shape of which can be different. Such items need to complete 11-13 pieces.
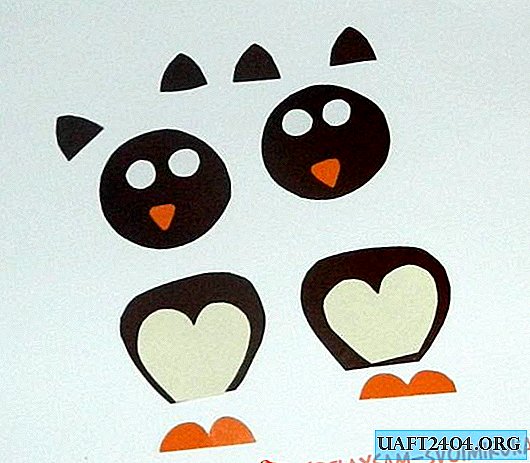
Further we carry out details for owls. From brown cardboard we cut heads with a diameter of 3.5-4 cm, then two elements for the body, four small elements for the ears.
We cut out eyes with a diameter of less than 1 cm from white cardboard. It is here that the use of scissors for small parts is an advantage.
From orange cardboard we cut out two elements for the beak. And also cut out two details that will serve as paws, as in the photo.
From paper of milky color we cut out two elements that will be attached to the breasts of owls.
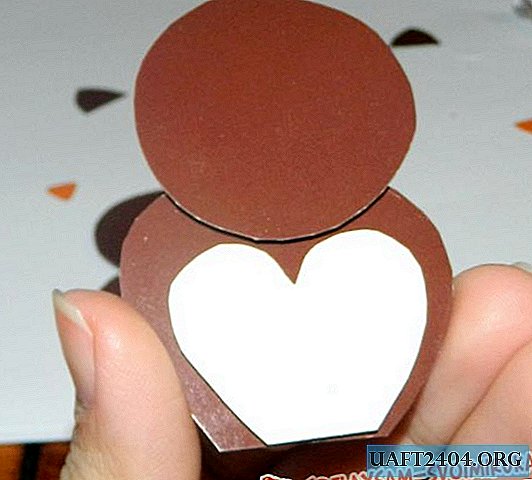
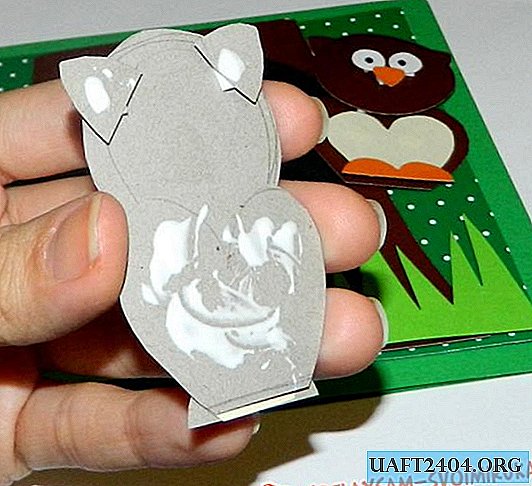
We begin to connect the parts and perform two owls. To do this, we attach a double-sided foam tape to the lower brown part.

Attach the head of an owl.

Again we fix on the bottom of the double-sided tape.

Fasten a piece of milk paper on the breast.
We glue the element for the legs of orange color with glue.

Fasten at the bottom of each owl.

On the back of the owls we fix the squares of the double-sided tape and glue the ears.
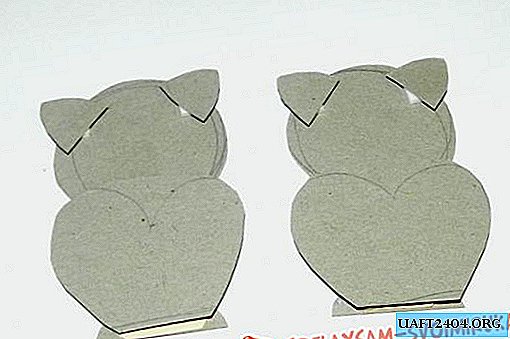
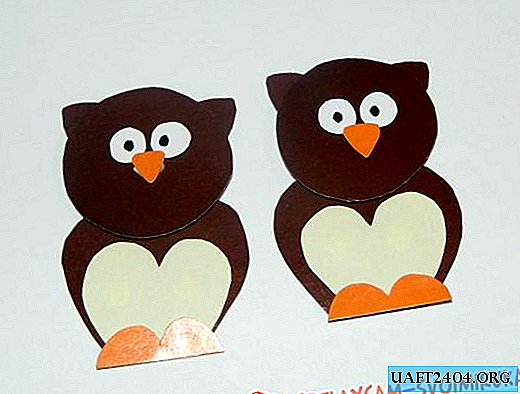
Owls are almost ready.
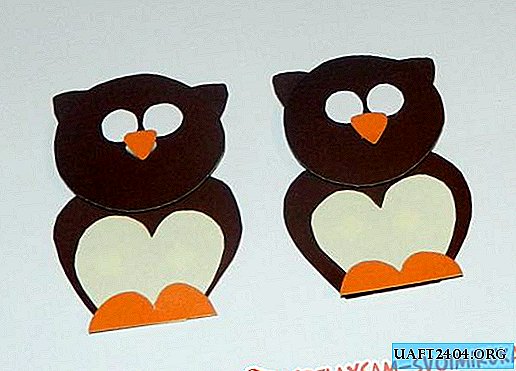
With the help of a black gel pen we make eyes.
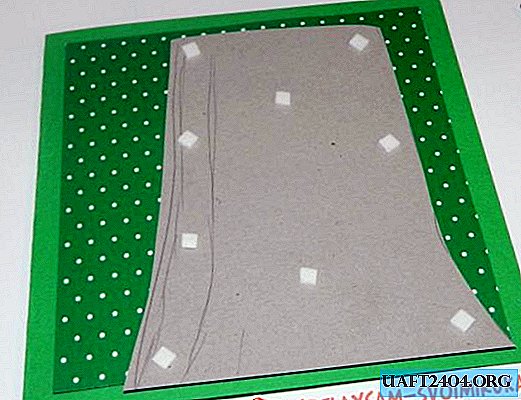
Take A4 green cardboard to create the base of the postcard. The dimensions of the finished base should be 14.5x14.5 cm or 15x15 cm. For this, the dimensions of the sheet to be cut should be 30x15 cm. Then, the finished sheet is bent in half to form a square base.
From designer paper with polka dots, cut a 13x13 cm square.

Using double-sided foam tape, we fasten the green polka dot square to the base.

On the back of the brown element for wood, we fix the squares of double-sided tape.
We fasten the tree to the base.

We fix the double-sided tape on the grass and glue it at the bottom of the tree.

On the back of the black element for the hollow, we fix the double-sided tape.
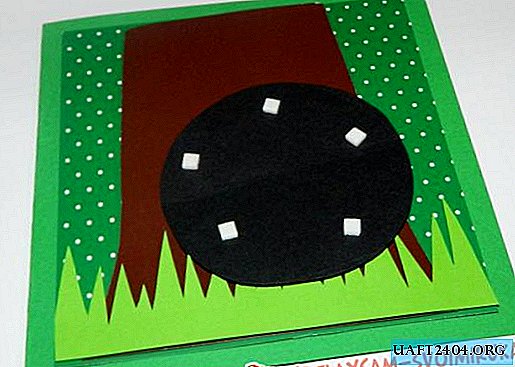
We glue the hollow to the tree.

We glue every owl and glue it at the hollow level.
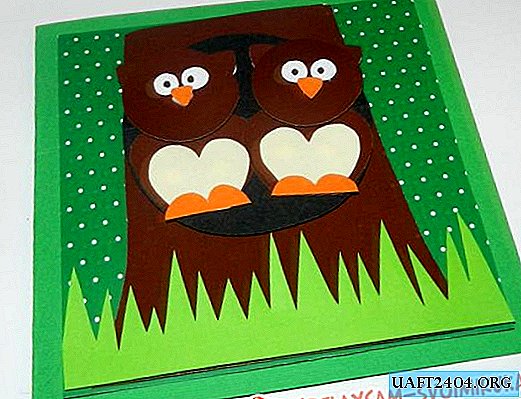
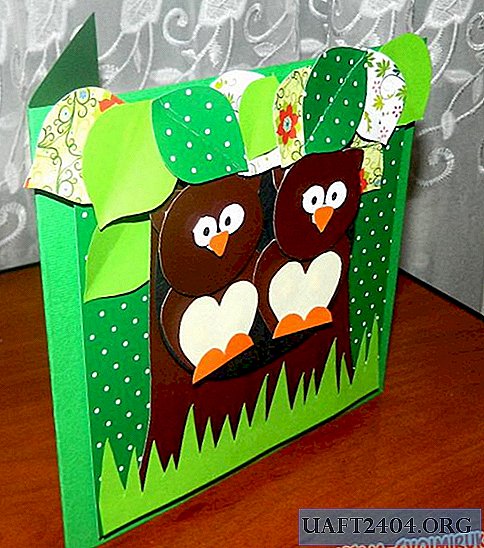
It remains only to attach in a chaotic order the leaves on top of the tree.

Everything will depend on the number and size of leaves, as well as on your imagination!
Original, beautiful, colorful do-it-yourself greeting card is ready!


Share
Pin
Tweet
Send
Share
Send