Share
Pin
Tweet
Send
Share
Send
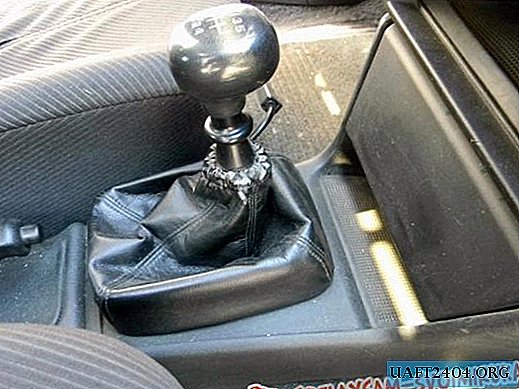
Almost every car with a manual gearbox and some cars with automatic machines have a lever that is protected by a cover. Sometimes it is called the gearshift curtain. The shape and dimensions of the cover in different cars differ from each other. But the principles of dismantling, sewing and installation are almost the same for everyone. For example, we offer step-by-step instructions for sewing a gearshift cover for the 1993 Opel Vectra A.
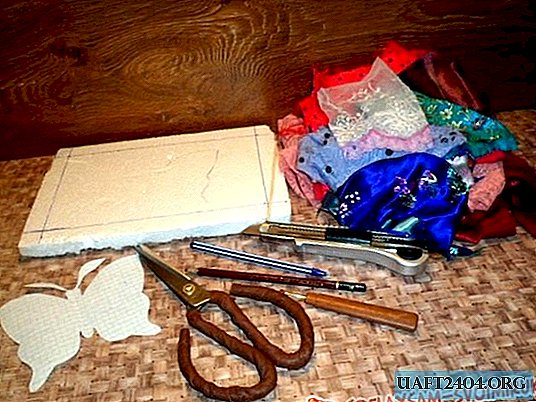
Necessary tools and materials

To sew a new gearshift lever cover you will need:
- flat screwdriver;
- nippers;
- pliers;
- stationery knife;
- scissors;
- nylon clamp, 3.2 mm wide, minimum length - 15 cm;
- a segment of leatherette or leather, size 40x40 cm;
- helium or ballpoint pen;
- stapler and staples 6-8 mm.
Of course, you will still need a sewing machine, for sewing a cover made of leatherette, any household sewing machine is enough. For stitching leather, a special sewing machine is used, capable of sewing coarse material. If there is no typewriter, then there will certainly be friends who have it. Most likely, friends will agree to help with sewing a case.
Gearbox cover sewing instruction
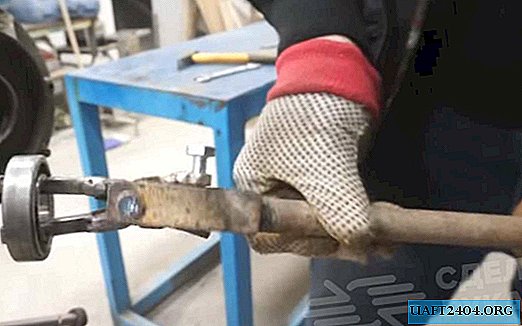
1. Dismantle the old case. Usually it is fixed in two places. Carefully snap off the bottom of the cover. It is usually made of plastic and is attached to the center console by snaps. Sometimes you need an ordinary flat screwdriver to tighten the base at the attachment points. We turn the cover on the left side. The top of the cover is often attached with a nylon clamp. We remove it with the help of nippers or a sharp clerical knife. Remove the cover through the gear knob.


2. Remove the staples that secure the cover to the base. We use a screwdriver and pliers.


3. Usually sew a cover of 4 parts. Sometimes it can consist of 2 or 3 parts. We mark on the old case how parts are sewn together.

4. We evaporate all parts. We get patterns for a new cover.


5. Transfer all parts to new material. Faux leather or leather is recommended. For sewing a cover, approximately a 40x40 cm piece of leather or leatherette is approximately necessary. New parts can be outlined on the front side with a helium pen or from the wrong side of a regular ballpoint pen. Cut new parts.


6. Carefully stitch all the parts together according to the marks that were made on the old case. If desired, you can make a decorative stitch. The color of the thread can be selected any, at your own discretion.


7. Insert a new nylon clamp in the upper part of the cover. We fix the lower part to the base. We use a stapler and staples 6-8 mm high. Using pliers, bend the ends of the staples on the inside. Instead of brackets, you can use 88 glue.


8. The new case is ready. Fasten it back to the car. Carefully dress him through the gear knob. Tighten the clamp on the top of the cover. We remove the excess with nippers. We turn the cover and fasten the base to the center console. Straighten the cover.


Share
Pin
Tweet
Send
Share
Send