Share
Pin
Tweet
Send
Share
Send
To make such a miracle, I used:
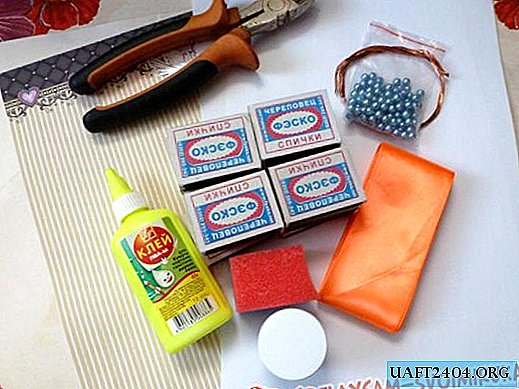
12 matchboxes;
PVA glue;
scrapbooking paper;
plain white A4 paper;
thick cardboard;
beads;
wire;
beads;
5cm satin ribbon .;
acrylic paint;
scissors.
The first step I carried out all the necessary actions with the boxes. For this, from the selected scrapbook paper, cut out the rectangles corresponding to the size of the short side of the inside of the box.

Gently stick them on the right places.

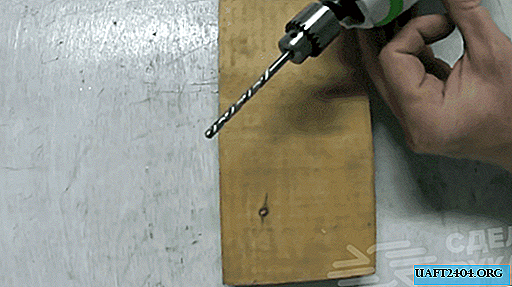
We make a hole in the middle with any sharp object and fix the handle of the future box on it.

I made my pen like this. on a small piece of wire strung one bead, leaving it strictly in the middle.

Then, folding the remaining ends of the wire in half, twisted them and stretched them through a bead.


Now drag them through the hole in the box and unbend the ends in different directions.

The outer part is ready. Now we should do the interior design. I used satin ribbon and regular PVA glue. We cut out such a structure from a piece of tape.

Then, gently searing the edges, so that the threads do not spill, we glue it inside the box.

While the boxes are drying, glue the remaining parts of the matchbox into sections of three pieces.

Using a foam sponge and acrylic paint, I tinted the edges of the box, which will be visible when assembled.

While all the components of the future masterpiece are drying up, you can tackle its bottom. For this, we cut out such a figure from cardboard. I have it one centimeter more than the future base of the boxes.

Then, from the scrapbook paper, cut out the same square and glue them.

On the side of the structures where the grater is located, glue the rectangle of scrapbook paper.


Using a piece of plain white paper, we put together all our boxes together in this way.

And glue it all to the prepared base.

While the lower part of the future chest of drawers dries well, we will deal with the upper box. To do this, we cut out such a structure from thick paper.

The square in the middle is equal in size to the structure of the boxes. The red lines should be cut sheet. Now we wrap all the edges in a box and glue it.

I decided to paste the outer walls of the box with the same scrapbook paper.

The next step, I decided to make a cover for the outside of the dresser. To do this, we cut out two squares from the corrugated cardboard: one is equal to the base, the other is 1 centimeter less - equal to the structure itself.

For the convenience of further decoration, we paste over them with plain paper.

The one that is larger, on top of plain paper, carefully paste over with scrapbooking paper and glue the squares together like this. (Photo24) I decided to decorate the top of my box with a motif.

So the whole process has ended.

Goodbye one more piece of advice. The bottom for such a chest of drawers is best done also from corrugated cardboard. My creation, after drying, the bottom went in a wave, because it was only a few layers of paper. As a result, you can store small items in drawers, and small things larger in the upper box.


In addition, this craft can be an original gift for a creative person on a holiday.

Share
Pin
Tweet
Send
Share
Send