Using this device, you can significantly expand the functionality of a household electric drill. Moreover, for the manufacture of the rack will require simple and inexpensive materials, which are almost always found in the garage or in the home workshop.

The process of making a homemade rack
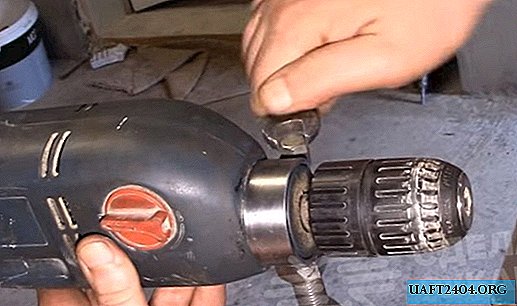
We find any piece of round steel pipe of suitable diameter and cut a 3 cm wide ring from it. We grind the workpiece from the inside and outside, as well as along the ends. Then cut the ring across and straighten a little edge.
Two nuts are welded along the edges of the workpiece, into which the bolt will then be screwed - this is necessary so that the ring can be tightly tightened. A long M16 bolt must be welded to the side of the ring. Now the homemade electric drill stand is ready.
Electric Drill Rack Platform Assembly

It remains only to make a platform for its fastening. To do this, use a piece of the profile pipe and three nuts. We clean the surface of the rectangular profile, after which we cut off the unnecessary side parts and weld the nuts on top: two parallel to each other, one perpendicular to them.

Parallel nuts are used for horizontal fastening of a rack, and the third - for vertical. At the last stage of the work, it will be necessary to assemble an auxiliary unit, for which a stud and M12 nut will be required, as well as a regular nut with a diameter of 16 mm.

The resulting part is welded to the stand. The same combination, consisting of an elongated and regular nut, should be on the other end of the stud. Then, a piece of steel plate is welded to the cap of the M10 bolt. We fasten the platform to the table with the help of two clamps, install the stand for the drill and you can get to work.