If you plan to make repairs in an apartment or in a private house with your own hands, but you have never done this before, then professional advice from experienced craftsmen will definitely not be superfluous.

So, in order to properly make the water supply under the bath mixer, the first thing you need to do is to correctly markup, always taking into account the dimensions of the installed bath.
The first step is to put a mark on the clean floor. The master does this with a laser, but you can beat off a horizontal line with a water level along the perimeter.

The main stages of work
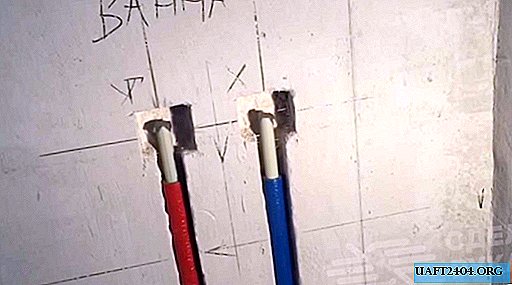
At the next stage, you need to make a mark on the height of the bath, and you will also need to retreat from the wall a distance of 1.5 cm under the tile, and make marks on the width of the bath.

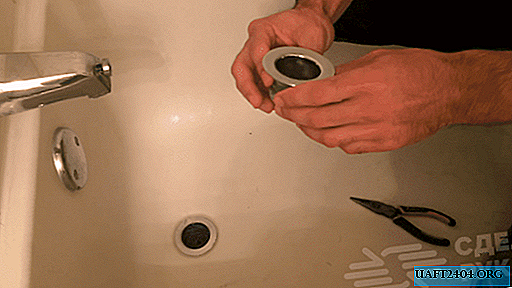
And you also need to make a mark under the mixer. Marking is also done for the strobes for laying polypropylene pipes in them.
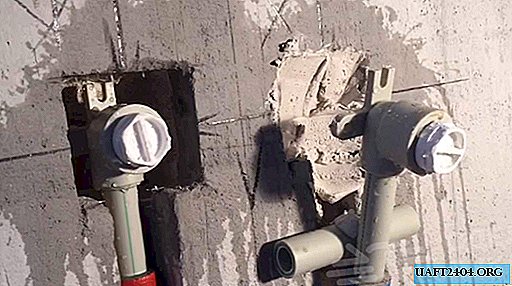
In this case, the master uses pipes with a diameter of 20 mm. The strobes should be slightly wider (approximately 30 mm), as the pipes will be additionally worn with insulation.
Insulation is needed to prevent the formation of condensate, and it is also used as additional protection against heat loss.
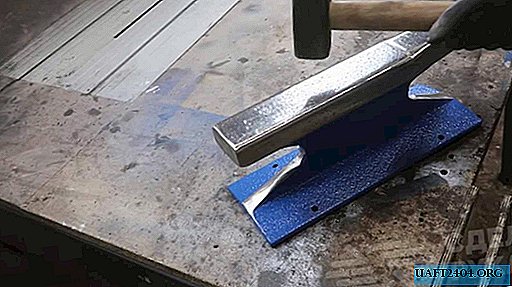
At the last stage of work, angles with fastening are installed. Then the strobes can be repaired, and you can begin to install the bath itself.

Details on how to properly make a plumbing for a bath mixer can be found in the video on our website.