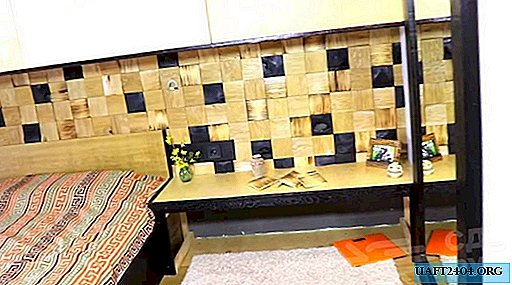
From the remnants of the lumber, you can make an original decor - a wooden mosaic for finishing the surface of the wall. The process of making a wall mosaic of wood is very simple. And in time it is not very expensive.
First of all, it will be necessary to cut square billets from a piece of wood on a miter saw (or circular). The size of the tiles can be any. In this case, it is 12 * 12 cm.
Next, sawn square tiles need to be split lengthwise into two parts (in half). This will require an ax and a hammer. This will allow you to get tiles with the original texture.

The main stages of work
After that, all prepared wooden billets (to give them a more expressive appearance) can be burned with a gas burner. Wooden mosaic is covered with acrylic varnish.

The author decided to make part of the square tiles completely black - for this they need to be burned with a burner to the base. You can also repeat this "trick".

After all the tiles have been prepared, it remains only to determine its layout. Then we attach the mosaic to the wall. This can be done with liquid nails. If you fix the tiles on drywall, then you can use a thermo gun with silicone rods.

For details on how to make a wooden mosaic with your own hands for decorating a wall with your own hands, see the video on our website.