Share
Pin
Tweet
Send
Share
Send

Will need
The basic material needed for making a vice can be found among the worthless trash:
equilateral corner; a piece of metal sheet; a small steel strip; scotch tape and writing paper.
The following components will cost us the minimum amount:
7 identical nuts and one large washer; lead screw; 4 mounting sets (nut, bolt, washer); paint in an aerosol spray can.
The following tools and accessories should also be available:
Bulgarian; welding; drill; clamps and pincers; screwdriver and brush; square and pencil.
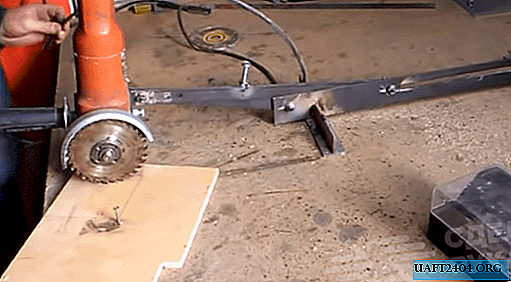
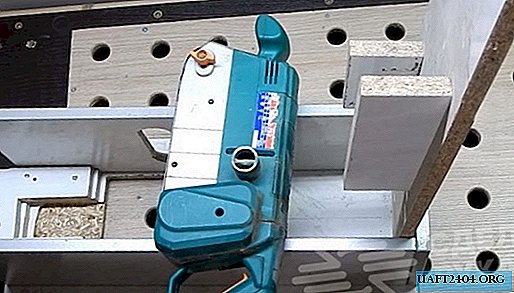
Vise progress
From two equal-angle corners we weld a pipe of square section.

From the same corner, we make the elements a square guideway in the section, in which the profile pipe would move freely and the gaps would be minimal.


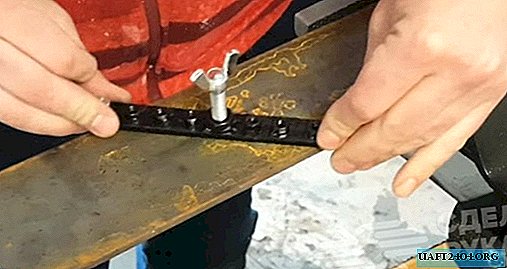
From a sheet of metal with a thickness of 5-6 mm, we cut out the square of the required dimensions according to the marking.

Eliminate burrs and trim edges.
We try on a square plate, pipe and guide elements in the order in which they will be in the existing product.
We weld the parts of the guide, and to minimize gaps on the square pipe, we apply several times folded writing paper.

Carefully process the surface of the guide.
On one side of the square pipe, we cut from the end face a longitudinal through gap that does not reach the second end of 3 cm.

We mark the square plate and in the center parallel to both sides we weld a strip of metal, and in the middle - two closed nuts.


Screw the lead screw into them. Once again, we verify the accuracy of the installation of nuts and screws and, covering the threads with a cloth, weld the nuts together and to the strip.

Move the screw in one direction to the limit and cut off the excess. We clean the welds.
We make sure that the lead screw and square plate move freely in a square tube with a lower neckline.

We install a guide on top of the pipe and securely weld it to the plate with a double seam, cleaning the scale with a screwdriver and a metal brush. At the end, we grind the seams with a grinder.

We round the edges of one of the nuts, screw on the lead screw to the desired place and weld it there, protecting the thread from the spray of metal with a corner.
On the front end of the pipe with a lead screw, we impose and weld a U-shaped plate.


We install a large washer on the screw, screw on the nut and pliers, grabbing the end, check its progress.

On top of a square pipe we weld the stop. Screw the lead screw to the limiter.
In this position, we weld to the pipe a movable sponge from the corner and a fixed one to the guide, holding it in closed position with pliers.


After that, we disassemble the nodes and strengthen the jaws by welding on the back of the hard stops over the entire width. Carefully clean the seams with a grinder.

From the remainder of the lead screw we make a collar for moving the jaws, removing threads from the surface, but leaving them at the ends for screwing nuts.
We turn off one nut and put a third on the handle, which we weld to the end of the lead screw, and the extreme ones - to the ends of the gate.

We turn over the square plate and drill holes in the corners for fastening to the workbench.

We disassemble the vise, close the square tube with a movable sponge with paper and scotch tape, and paint all the nodes.
We make holes in the countertop, first we fix the base with the guide assembly and the fixed jaw, into which we insert the movable element, and with the help of the screw gate we close the jaws. The vise is ready to go.

Share
Pin
Tweet
Send
Share
Send