Share
Pin
Tweet
Send
Share
Send
The chemical power source that will be manufactured in this master class has quite substantial power to get a voltage that can power 220 V network devices with it.
Surely you saw articles on the Internet where electricity is obtained from a lemon by sticking two electrodes of different metals into it. This battery will be built on the same principles, only on a larger scale.
We will only take the path of increasing the sections of cells, but the path of increasing the area of the electrodes, which should give a greater battery current, and therefore the power of the entire installation.
Water and baking soda diluted in it will be used as an electrolyte.
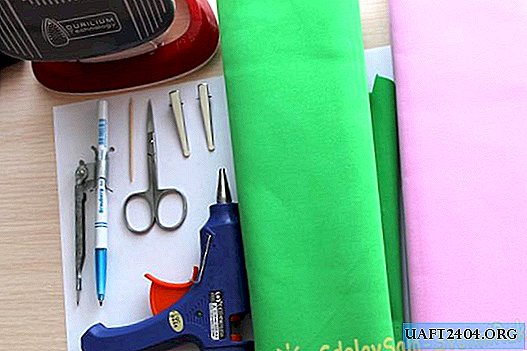
Will need
- Sewer PVC pipe, receiving length 1-1.2 m.
- Two PVC plugs.
- Copper wire.
- Galvanized strip.
- A piece of corrugated pipe.
- Thin PVC tube.
- A pair of pieces of plastic for coasters.
- Terminals are two pieces.

We make the battery working on water
We need to assemble a sealed vessel from a PVC pipe - this will be the body of our battery. I decided to insert twisting plugs at the ends so that they could be unscrewed at any time. With a gas burner, we heat the edge of the pipe.

We insert a stub.

The result is such a neat edge with a thread on the end.

In the caps of the plugs we paste pieces of a thin pipe. There is no need to make a hole in them. These segments will center the inner element and are needed only as mounts. We use glue based on epoxy resin.

The whole battery will be located horizontally, for this we glue peculiar legs on both sides.

It's time to make the electrode element itself. We take a tube with a serpentine texture and first wrap a copper wire in its gutter.

If you do not have such a tube, take the usual smooth one, but in this case you will have to periodically fix the wire at a certain interval.
Then we wrap a galvanized tape in the gap between copper.

These two tapes should not touch each other.
On the one hand we connect and draw a conclusion from a copper wire. And on the other hand, we do a tap from the zinc electrode.


We connect the wires and make the terminals.

We install the element in the pipe.

We close the lid so that the tube on the lid passes inside the tube of the element with electrodes.

We make an electrolyte: add a couple of tablespoons of soda to ordinary water. Next, fill in the battery.


As you can see, the body is painted in black enamel. On the side there is a faucet for draining gases and draining the liquid. Close the second lid.
This is where our chemical current source is ready.
The result of the salt battery
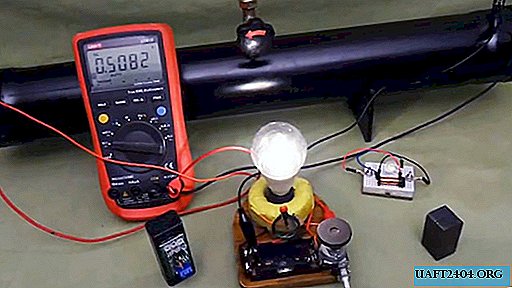
The result of the work is such that the open circuit voltage is 1.6 V. The short circuit current is 120 mA.
Now connect the load. This is a single transistor boost converter for powering LEDs.

LEDs shine brightly, consuming about 20 mA. As you can see, the drawdown turned out to be 1.2 V.

Next, try to power the lamp at 220 V with a power of 3 watts.

We also connect it through the converter.

It is shining normally. The initial voltage drawdown was up to 0.8 V. After working a couple of hours it was - 0.6 V.
This battery will last for several hours. You can collect it and experiment with replacing the electrolyte, making it not from soda, but from ordinary table salt. Replace electrodes from other metals. Who knows, maybe you can get more stress and time. Good luck
Share
Pin
Tweet
Send
Share
Send