Share
Pin
Tweet
Send
Share
Send

The splicing method is far from new, but the device that we will consider today for it is simple, reliable and most importantly - you can do it yourself. It will save you from the hassle of aiming with drills of different calibers at the exact angle, which is extremely difficult to do by hand. So let's get started!

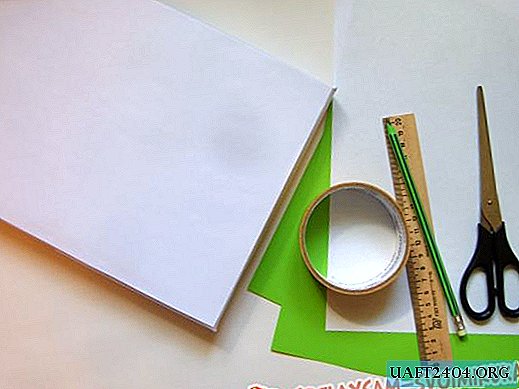
Materials, tools
- Wooden block in section - 4.5 cm * 4 cm, length - 8 cm;
- A steel tube with an inner diameter of 8 mm and an outer diameter of 10 mm.
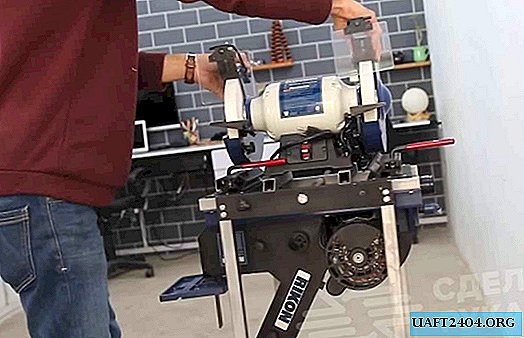
From a power tool we will come in handy:
- Desktop drilling machine with a drill for holes in the jig (a drill or a screwdriver is also suitable);
- Jigsaw;
- Grinding machine;
- Band-saw;
- Bulgarian (angle grinder).
From a hand tool come in handy: vise, clamps, protractor-quadrant or protractor, sandpaper and tape measure with a pencil.
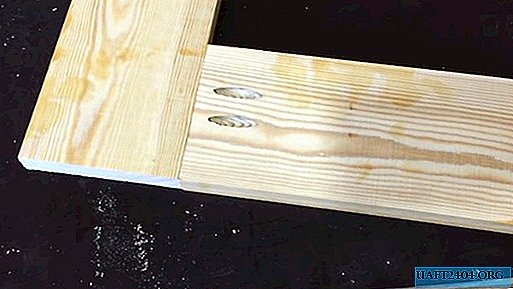
Making a conductor for oblique holes
In the bar-blank, it is necessary to make several through working holes. This can be done on a stationary drill press or drill. The diameter of the holes is selected for the outer diameter of the tubes that will pass through these holes.


Next, we prepare metal guide tubes. They are needed so that the drill does not flare holes in soft wood. We cut them with a grinder according to the size of the height of the bar with a margin of 5 mm.


Hammer the tubes all the way with a hammer. If the holes are loose, the tubes on the outside can be treated with the same cutting wheel of the grinder (angle grinder) or put on glue.


We mark the plane line of our conductor. The angle of inclination is 15 °. For marking, it is convenient to use an inexpensive goniometer-quadrant.

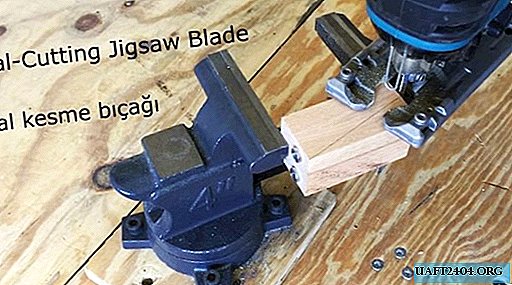
We clamp the bar in a vise, and cut it along a marked line with a jigsaw. The canvas for this should be selected universal, with a small tooth, designed for cutting wood and metal.

The plane of the conductor after cutting is far from ideal. We align it on the grinding machine so that the side faces of the bar remain perpendicular to it.

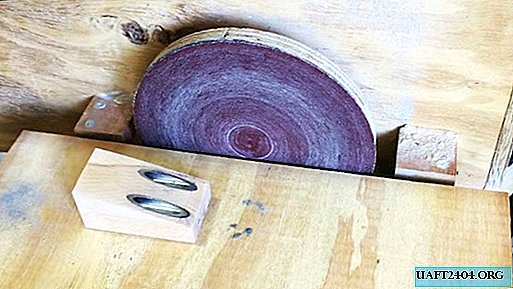
If we leave our template at this stage, then pressing it to the workpiece with a clamp will be problematic. The fault is the inclined plane that formed on the outside of the bar after cutting it. To avoid this, it is necessary to work it out by making an area for the heel of the clamp. The slice should be slightly concave so that the line of its front, defined by the clamp, becomes parallel to the lower plane of the template. After sawing on a band saw or a jigsaw, the conductor can be lightly treated with sandpaper.

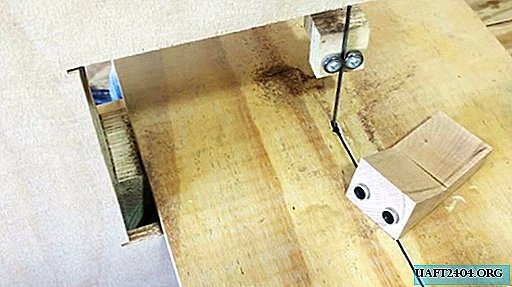
It remains to verify the performance of the conductor, pressing it to the workpiece on the desktop with a clamp. Self-tapping screws for such joints are used exclusively with a flat head, which prevents the wood from cracking when two parts are spliced. For drilling holes for them, a two-stage Twist drill is ideal, with an initial diameter of 4-5 mm and a final diameter of 8 mm. Also, to twist the screws you need a long bit. That's all, good luck to everyone!


Share
Pin
Tweet
Send
Share
Send