Share
Pin
Tweet
Send
Share
Send
Indirect signs of a power cable malfunction - the electric drill simply does not turn on or is intermittently working. At the same time, there is voltage in the outlet, but there are no signs of mechanical damage to the tool (the drill chuck rotates freely by hand).
Preparation for work
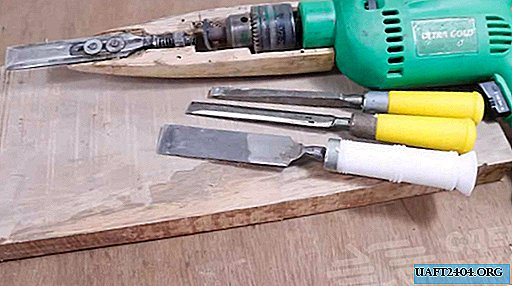
To check and subsequent repair of the drill you will need a tool kit:
- Screwdrivers.
- Nippers.
- Pliers for removing insulation.
- Multimeter or indicator screwdriver.
- Soldering iron.
- Solder, rosin.
- Insulation tape.

You can do without a soldering kit, necessary for tinning wires. The drill will work fine, but we recommend tinning the wires for two reasons:
Copper cores will oxidize much more slowly, which means reliable contact will last longer.
Soldering guaranteed to hold all wires together, ensuring the passage of current throughout the cross section of the conductor.
If you need to replace the cord with a new one, purchase a cable in a rubber sheath, which is much more flexible than PVC film. There are many varieties of flexible wires, the most common: "KG" (Russian) and H-07-RN (foreign). Select the footage of the cord convenient for work, according to the professional experience of using an electric drill, the optimal length is about 4 meters.
The cable cross section depends on the power of the tool:
- up to 500 W - 2x0.75 sq. mm .;
- up to 900 W - 2x1.0 sq. mm .;
- up to 1500 W - 2x1.5 sq. mm.
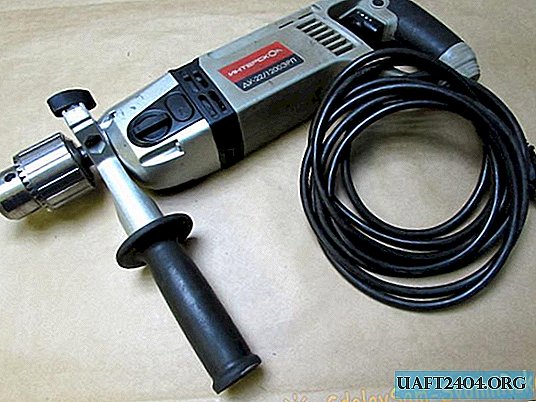
Before operation, disconnect the side handle of the electric drill so that it does not interfere.

Fault diagnosis
Before disassembling a broken drill, plug it into a power outlet and move the power cable near the entrance to the enclosure by pressing or locking the power button. The tool will give signs of life if the cause of the breakage is grinding the cores in the bends of the cord.

Unplug the cable from the outlet and proceed to disassemble the drill. First, use a screwdriver to remove the bolts holding the plastic halves of the housing.

See if there are any additional latches that should be pressed or snapped off. Now disconnect the halves, if necessary, gently pry off with a screwdriver.

After removing the cover, photograph or remember the placement of parts and wires.

Call both wires of the power cable with a multimeter. To do this, connect the probes in ohmmeter mode to the cord outlet and to the plug terminal. Repeat with another wire.

If there is no tester, use an indicator screwdriver to check. Connect the electric drill to the network, find the phase indicator on one of the contacts with an indicator. Turn the plug over in the socket and look again for the phase, if at least at one stage the network is not detected, the cable is faulty.
Remove the failed cord by unscrewing the pressure bar and loosening the contacts of the block.

Most often, the cable cores are frayed at the places of bends.

The cause of the voltage loss can also be hidden in the plug of the electric drill, especially if traces of damage are visible on it (for example, bent plugs).

Power cord repair
If the cord is long enough, just cut the worn section. The short cable will have to be replaced with a new one.

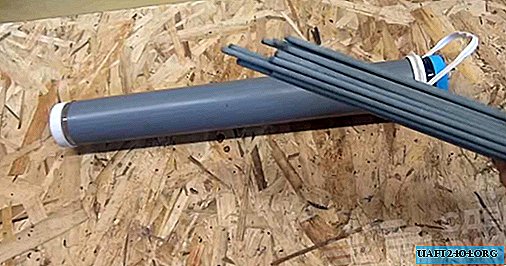
At the same time, it is advisable to change the hardened or cracked sleeve at the cable entry point. It’s not at all necessary to look for a “native” one, a suitable part is easily selected in any car shop. For example, for this drill came a protective cover of the rod of the electric door lock.

Try the rubber grommet in the drill body and cut off the excess.

Put the cover on the cable, measure in place the length of the stripping of the conductors.

Cut the outer rubber sheath with pliers.

Remove about 10 mm of insulation from the ends of the cores using a special tool.

Check if the tester is working properly.

Twist the veins of the cable, dip them in rosin and apply solder in an even layer.

Wrap several layers of insulation tape around the cord.

Connect the conductors to the block or directly to the terminals of the button, depending on the circuit of your electric drill.

Fasten both screws of the fixing collar.

Carefully lay the wires, plug in the power drill and measure the voltage.

Check the location of parts and conductors, assemble the housing and fasten with screws.

Connect the power drill to the mains and make sure that the tool is working.

Carrying out repair work independently, remember about safety. Connect the disassembled drill to the mains only for voltage measurement with insulated test leads. After that, immediately remove the plug of the tool, excluding electric shock.
Share
Pin
Tweet
Send
Share
Send