Share
Pin
Tweet
Send
Share
Send
So, we start and take for manufacturing:
- Outline of our box;
- Red cardboard A4 format three sheets;
- Scrapbook paper in a gentle tone, can beige, sheet size 30 * 30 cm;
- Felling: red shoe, large butterfly, openwork circle;
- A picture with the inscription “On this wonderful day”;
- Stamped inscription “Happy Birthday”;
- White cardboard, whatman;
- Metal pendant and brads, this is for the handle of the box;
- Pearl half beads;
- Curb hole punch;
- Double-sided tape, glue stick, glue with “tape effect”;
- White satin ribbon 25 mm wide;
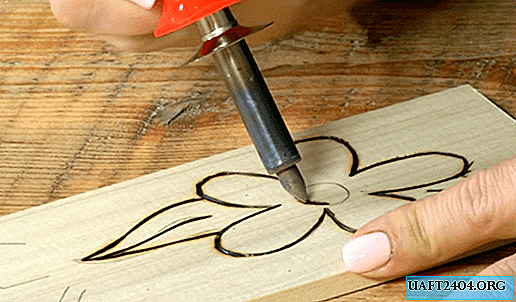
- Scissors, pencil, thermal gun and ruler.

We put the diagram in front of us, carefully look at the inscriptions and cut out the appropriate blanks. What and how much is needed on the diagram is also signed, so we will measure and cut everything in centimeters.


First, cut out all the blanks from red cardboard. We will have five of them: for a postcard, for a box, for the base of the box and two for the box itself.


We draw the base of the box and the box itself according to the scheme (draw the bending lines), cut off the excess and glue it with glue-pencil. We also fold the card in half. From the scrapbook paper we cut out two squares.


We stick the scrap of the blank onto cardboard, and use double-sided tape. On two blanks we glue cutting down. The inscription and pictures, as well as on the strip of tape. Sew everything glued on a typewriter. Glue a white square inside the card and flash it inside, connecting the card with a large square, as if we sew one on top of the other.


We glue the box, we pass the suspension onto one of its brads, it will be a handle for convenient opening. Inside the box, make a strip with a hole punch and glue it around the edges. Now with glue we collect and glue the box.


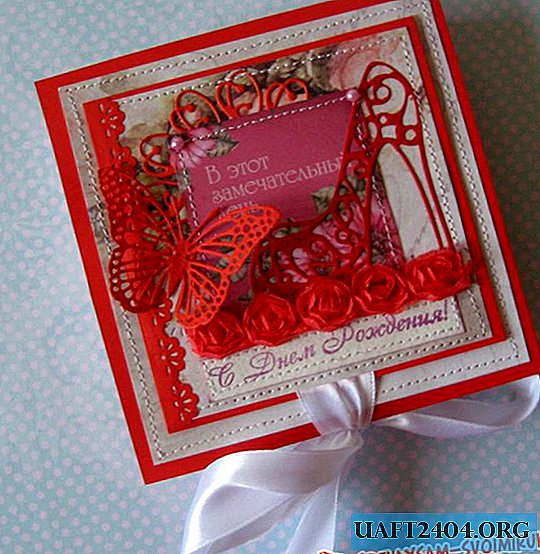
It turns out we have such a box.


We tie a bow and the box is ready. You can invest in it something beautiful or money and congratulate. Thank you for your attention and good luck!


Share
Pin
Tweet
Send
Share
Send