Share
Pin
Tweet
Send
Share
Send
Decorative ornaments (for example, flowers) can be made of corrugated paper or strong foil if you do not have excess fabric. The foil is resistant to getting wet from water, but a durable foil suitable for sewing can be found in gift wraps:

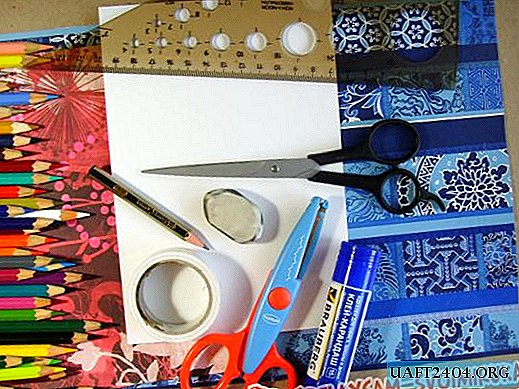
Here is a list of everything you need to work:
- Thick copper wire (you can take 2 pieces);
- The wire is thin;
- the needle;
- Old belt (we have a black leather belt);
- Beads of medium size black (suitable in color to the belt);
- Napkins, stapler and (or) durable foil (we have foil from gift wrapping);
- scissors;
- Threads of black color.
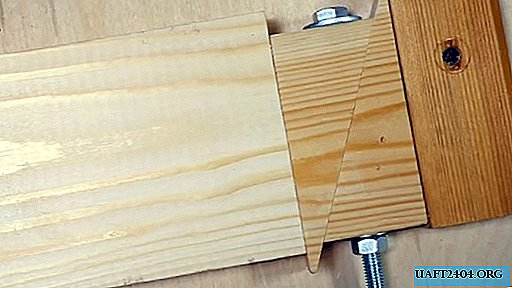
Getting started, we picked up a suitable wire and belt. The thickness of the wire is 0.2 cm, and the belt turned out to be quite thin, comfortable, and has not yet deteriorated. Unlike ordinary fabric, its fabric will not crumble after cutting:

For work, we decided to take two thick wires. Having measured the required length for each of them, we connect them together, twisting them with a thin wire:

Now we need to cut off the part from the belt, a little longer than the wire (about 1 cm), to leave a fabric that would hide the wire inside the fabric of the finished rim:

After this follows, wrapping the wire with a belt cloth, sew its longitudinal sides, bending inward the excess areas (allowance):

Seams with seams are best done on the upper side, but not from the bottom or side. We will embroider with beads in these areas.
Two bags of beads are enough for us:

We will embroider with beads in two rows; Small areas below can be left for foundation.

We embroider in a circle, 3-4 beads in each row:

Here is the outline of our embroidery:

In this way we decorate the entire upper side of the rim. If you have a black cabin or bugles, they can be added to the work; and in the lower part of the rim you can make two short rows of several beads in the inner side so that the rim slips worse:

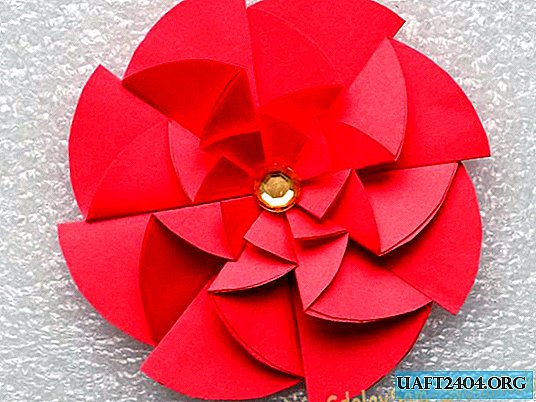
Next, from napkins, we decided to make artificial decorative flowers.

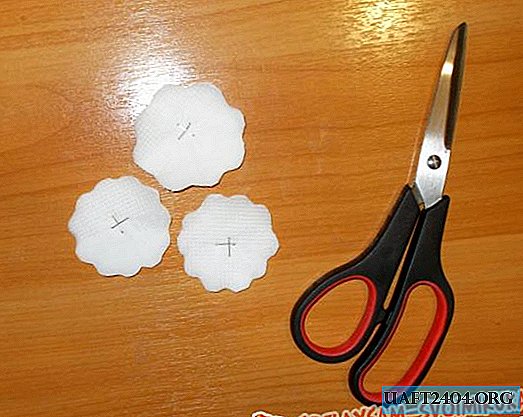
First, we fold two napkins twice and fix each of them in the middle with brackets:

Then we need to cut out three shapes in the form of flowers from them, after which each of the layers of paper in turn is raised to the middle and squeezed, and then dissolved:

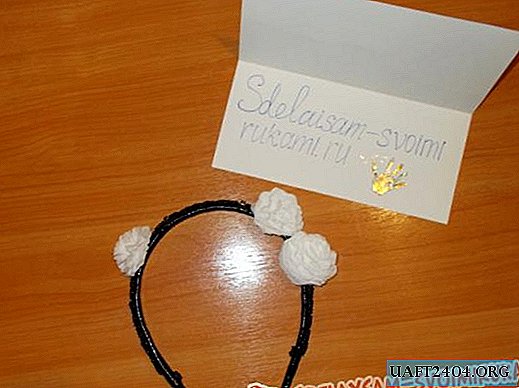
We sew the resulting decorative flowers to the rim:

After that, everything - our rim is ready.

Some time after the holiday, we got a silver durable foil from a gift. And from this foil we decided to make new decorations for the rim and replace them with paper ones:

First, we cut out six shapes from the foil in the form of flowers of different sizes, and then connected them together with seams:

In order to give the figures volume, we made seams in a circle in the middle of each of them, and then carefully pulled the thread:
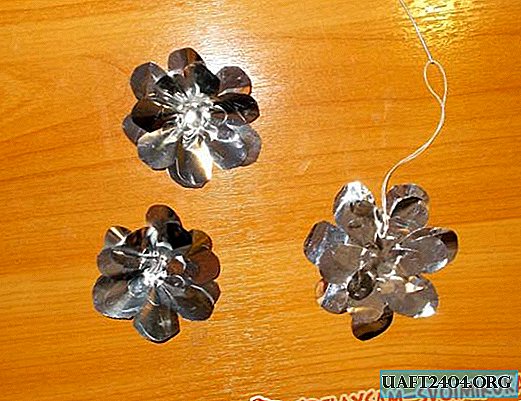
So we managed to make such decorations, and the foil could not tear:

After that, we attached our jewelry to the rim:

Now that's it - our craft is ready.

Sincerely, Vorobyov Dinara.
Share
Pin
Tweet
Send
Share
Send