Share
Pin
Tweet
Send
Share
Send
• Binding cardboard, two sheets of 15 * 15 cm;
• Two sheets of A4 watercolor paper;
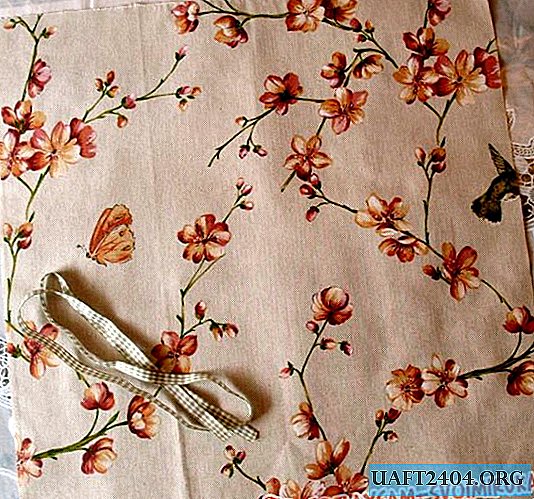
• Two sheets of paper for scrapbooking from Evgenia Kurdibanovskaya from the collection "Love and Pigeons", sheets 30 * 30 cm;
• Metal corners for gold 4 pcs;
• Curb hole punch;
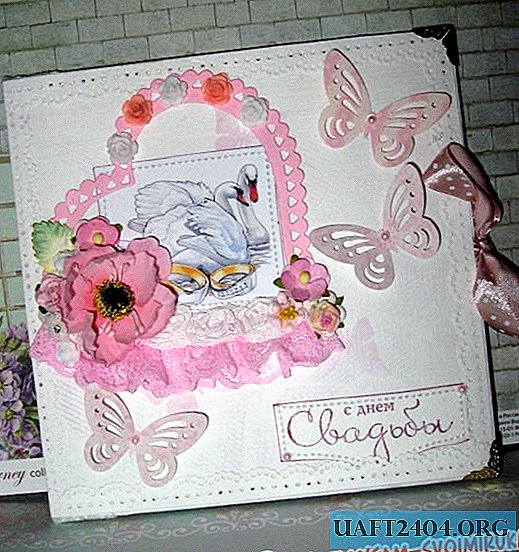
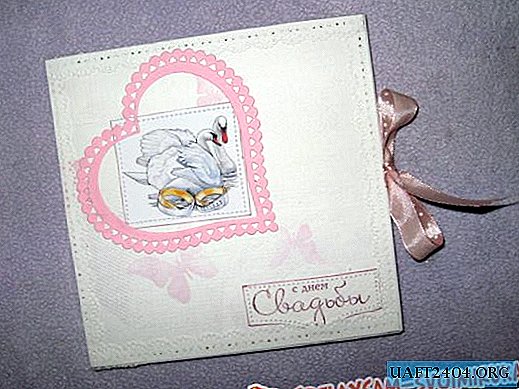
• Hollow cut-out heart of pink color;
• Picture with swans;
• Stamp "Happy Wedding Day", pink ink;
• Rosettes made of polymer clay of white and peach flowers;
• Pink poppy;
• Pink-peach roses and forget-me-nots;
• Pink double lace;
• White ribbon with fabric roses;
• Cutting out paper butterflies;
• Leaflets;
• Half beads;
• Satin ribbon light pink with polka dots;
• Double-sided tape, glue gun, pencil, ruler, PVA glue, scissors.

So, first we need to make the very base of the box. We apply binding paper to a sheet of watercolor paper.


We retreat along the perimeter of 1.5 cm. We do the same with the second sheet of cardboard paper. We cut off the excess and get 18 * 18 cm squares from watercolor. Now with one hand we press the cardboard and with the end face of the scissors we go around the perimeter of one and the second squares. This we do the bending lines.


At the corners we retreat on both sides by 3 cm, then we connect the angular lines and make slices.


We bend all sides. Stripes of adhesive tape on these blanks on binding cardboard.


The sides that are bent are glued with PVA glue. We got such squares. They now need to be glued together. We cut two strips of 3 * 15 cm. Divide them by 1.3 * 0.4 * 1.3 cm and also big.


Glue one strip on top, the second on the bottom, thus connecting the squares, we get a little book.


From the pink and white scrapbook paper, cut 4 squares of 15 * 15 cm each. Two rectangles of 7.5 * 15 cm are cut from another paper. Above we glue paper lace with PVA.


Pockets rectangles are glued to the squares at the edges.


Cut off and glue on the strip of tape to the front. Glue inside the scrap squares with pockets. We decorate one of the front squares: glue the picture and the inscription and sew them with a machine.


Now we glue both front parts and sew both sides of the box from the outside.


From the remaining watercolor we make the strips with a hole punch and glue along the edges of the box. Then glue the heart.

Now just glue the rest of the decor.


We get such a delicate box for the disc. Thank you all and good luck!


Share
Pin
Tweet
Send
Share
Send