Share
Pin
Tweet
Send
Share
Send
Materials for work:
1. A bottle.
2. Acetone.
3. Vata.
4. A piece of sponge.
5. Acrylic paint (matte white).
6. Napkin for decoupage with roses.
7. PVA glue.
8. Fan-shaped synthetic brush.
9. Acrylic colors of green and red.
10. Brush for painting on nails No. 0.
11. The varnish is glossy.
12. The eggshell.
13. Natural brush number 5.


Stages of decorating a bottle using the decoupage method.
1. Empty bottle must be cleaned of labels. Then degrease the glass with acetone.

2. The next step is the priming of the surface. To do this, dunk a piece of sponge in white acrylic paint and dottedly cover the entire bottle, except for the bottom. The bottom is covered last, after the main surface has dried.

3. After some time, apply another layer of paint.

4. We proceed to the "decoupage".
5. On the napkin, select the desired pattern. For a small bottle, 2 identical oblong-shaped roses are suitable.

6. It is necessary to separate 2 layers from a napkin. For work it is enough to use the top layer with the image.

7. First we attach one rose to the center of the bottle. Using a fan brush dipped in PVA glue, glue the napkin to the surface. Apply glue from the center of the cloth to the edge.

8. In the same way, glue the napkin to the other side of the bottle.
9. The glue should dry well.

10. Then you should give the surface a shade.
11. At this stage, mix the white and red colors to get a pink tint. Using a sponge, paint the bottle.

To give the product volume and crackling effect, it is necessary to decorate the bottle with egg shells. Shell decoration with eggshell.
1. The shell must be washed and cleaned of the film. Then dry and break into pieces of different sizes.

2. Apply glue to the surface around the rose.

3. A piece of shell is applied to the place where the glue is applied. Then we press it well with your finger so that the shell is firmly fixed in place.

4. We glue the shell particles in a different order, choosing different sizes of pieces. Between the shell voids will form.

5. We glue the shell to the neck of the bottle.

6. The glue should dry well, and the shell should fit snugly to the surface.
7. Give the shell a pink tone.

8. Then you need to paint the cracks. To do this, use a thin brush and light green paint to draw voids between the shells.

9. Leave the product to dry.

The completion of the work will be surface varnishing. Using a fan brush and varnish we cover the surface of the bottle.

The product must dry. Then it is necessary to varnish the bottom.

Cork decoration.
1. For convenience, we install a bottle stopper in a plastic water cap. Wipe the cork with acetone.

2. With a sponge dipped in white paint, cover the cork once.

3. After a while, cover the cork with paint again.
4. Give the cork a pink tint.
5. Varnish the cork.

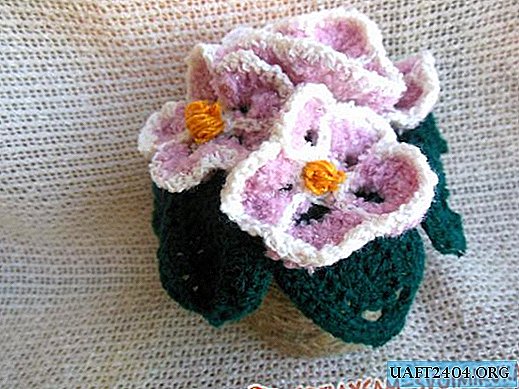
Bottle decoration. To give the bottle an elegant and sophisticated look, we will decorate the neck. To do this, you will need scissors, a green ribbon, 2 pink beads and 2 green beads.

1. The edge of the tape is cut at an angle.

2. We put on a ribbon first a pink and then a green bead.
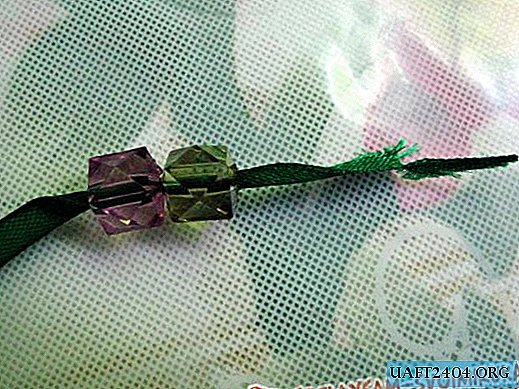
3. At the tip we tie 2 knots.

4. We do the same with the second edge of the tape.

5. Tie a ribbon around the neck of the bottle.
A bottle decorated in this way will bring a lot of pleasure during its manufacture and give joy to others.

Share
Pin
Tweet
Send
Share
Send