Share
Pin
Tweet
Send
Share
Send
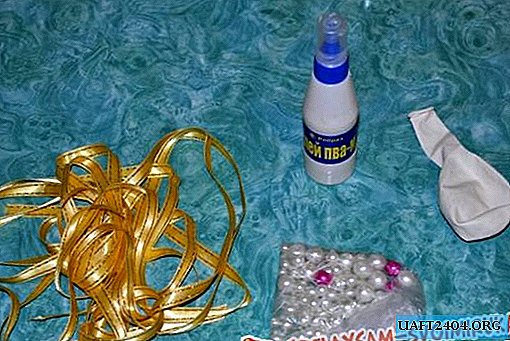
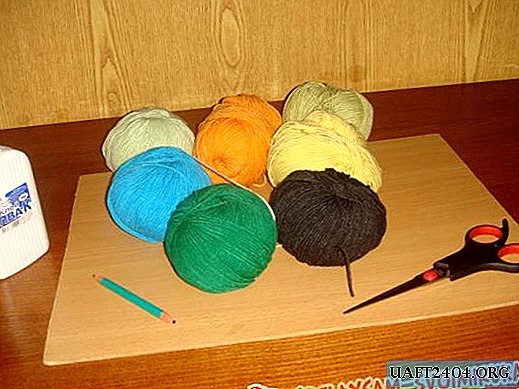
Prepare the following materials for work:
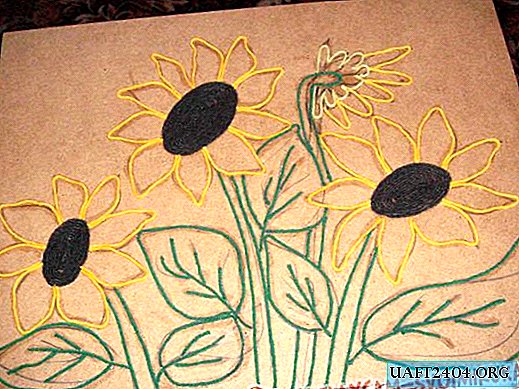
- a piece of chipboard of any size (in the photo it is a rectangular blank 30x40 cm);
- a tube of PVA glue and a brush for glue;
- scissors;
- a simple pencil;
- a wooden long skewer;
- threads for knitting of the same thickness (all kinds of shades of blue, yellow and green, plus a black thread).
Step 1. First, decide which picture you want to make, how many sunflowers will be shown in the picture. It can be a huge field or three large flowers (as in the photo). Draw with a simple pencil the drawing that you want to make. If you don’t know how to draw, then find the right picture on the Internet, print it on a printer and stick it to the base of the work.
Step 2. Now you need to draw the borders of the images using the threads. Green color should outline the outlines of stems and leaves, yellow - flower petals, and black - fill the middle of the sunflowers. To do this, apply glue in those places where the lines were drawn with a pencil. In order for the threads to lie flat on the base, it is necessary to align them with a wooden stick.
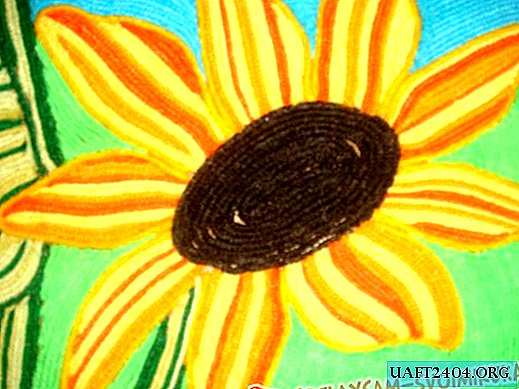
Step 3. Once the borders of the figures are firmly glued, you can begin to fill the image with colored threads. For sunflower petals, it is better to take all shades of yellow, lemon, and orange. To fill the internal space, it is important to cut the strings to size. Pre-measure the thread and cut the desired length. Or glue the end of the thread and cut it at the edge of the border.
To draw leaves and stems, take dark green, light green, mint and light green threads. Gluing them, alternate shades to make the picture more colorful and vibrant. In order for the threads to stick evenly and there are no empty spaces, it is important to periodically adjust them with a wooden stick and pull them with your fingers, pressing them to the base.

Step 4. For the formation of the background color, take the light green thread and blue. Draw a horizon line and draw heaven and earth. Try to be more careful at this stage so that the background is smooth and beautiful.

Here is such a beautiful, vibrant and bewitching picture obtained in the technique of nitography. You just have to wait until all the threads are glued tightly and trim evenly all those that hang outside the borders of the chipboard. Insert the picture into a beautiful frame and hang it on the most visible part of the wall. Friends and acquaintances who see such beauty will appreciate your talent and envy your perseverance.
Share
Pin
Tweet
Send
Share
Send