Share
Pin
Tweet
Send
Share
Send
We need such items for MK:
• A4 sheet of watercolor paper;
• Notebook sheet in a box for the development of the scheme;
• Wedding and romantic scrapbook paper, three different sheets;
• Stamping "On Wedding Day" in watercolor with burgundy and black ink;
• Pictures of the wedding, only five pieces;
• Openwork corner and border hole punch;
• Different flowers in both color and shape;
• Hollow mother-of-pearl heart from felling;
• Stamp acrylic wedding rings, a set of wedding stamps with different elements, black ink;
• Ribbon of white organza and white satin in the hearts;
• Pink butterfly from cutting down;
• The beads are round and heart-shaped in white;
• Pendant two hearts;
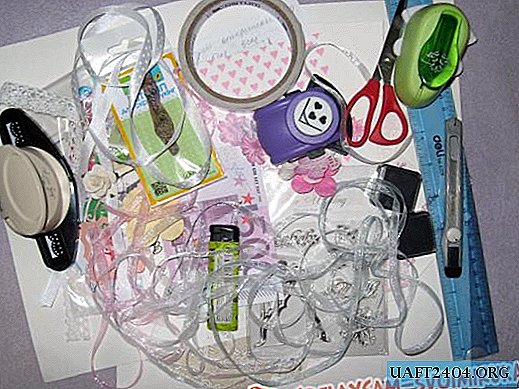
• Additional tools for work: frosting, stationery knife, sharp scissors, a simple pencil, eraser, lighter, glue gun.
First we take a notebook sheet in a box and on it we draw a diagram of the basis of a complex postcard. The expanded size of the postcard will be 18 * 30 cm. We mark out the basis of watercolor.

According to the scheme, we make scoring lines, for this we use a ruler and scissors. The main thing is to lay the base on a solid surface. Red stripes in the diagram indicate a cut, therefore, exactly under the ruler we make cuts with a clerical knife.


Fold the card with external and internal bends, as in the diagram. Now we take a scrapbook paper and measure out the following sizes: 2 pcs - 5 * 18 cm, 2 pcs - 5 * 9.8 cm, 2 pcs - 4.8 * 9.8 cm, 1 pc - 7.8 * 9.8 cm and 4 pieces - 4.8 * 4.8 cm. We cut out all the figures.


We glue the pictures with tape on scrapbook paper and sew them individually. Cut out congratulatory inscriptions.


All the details of the scrapbook paper are now glued to the base and each element is stitched with a machine at the edges.


We stamp the separate rectangle from watercolor paper with rings, make an openwork corner and make a loop for a tape in the upper corner with a hole punch. The card is folded, folded 10 * 18 cm. We make a paper lock. We pass the strip with a curb hole punch, assemble it into a ring and glue it so that it is worn on a postcard. Glue the inscription and decor.


Glue the rest of the decor, as in the photo. In the middle we make a pocket for money. We fold the bill and insert it into the pocket. Done! Very gentle and unusual!


Share
Pin
Tweet
Send
Share
Send

