Home-made mini-vices do not differ much in functionality from ordinary vices, but they are more compact and practical to use. And they are cheaper than factory models, since metal scraps, which are almost always at hand in a garage or workshop, are suitable for their manufacture.
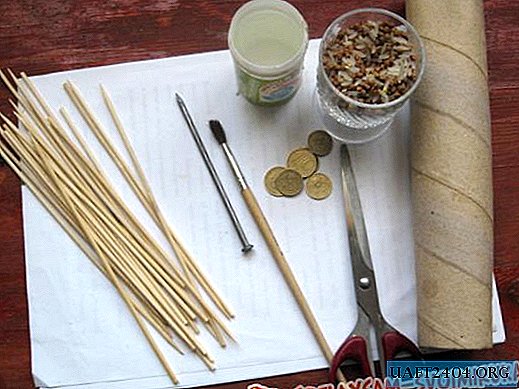
To make a do-it-yourself mini desktop vise, you will need the following materials:
- a piece of channel 9-10 cm wide;
- stud or bolt with nut;
- two pieces of steel square;
- round bar and blank.
The main stages of work

Using a grinder, we cut a small length of about 9-10 cm wide from the steel channel. We clean the end edges to remove burrs. In one of the side walls of the channel, we drill a hole for the stud (or a bolt of suitable diameter), first with an ordinary drill, and then with a metal bit, and weld the nut.

We cut two identical pieces from a steel square bar and make diagonal notches on them (you can grinder or manually file). The resulting clamping jaws must be welded to the inner surface of the channel side wall.

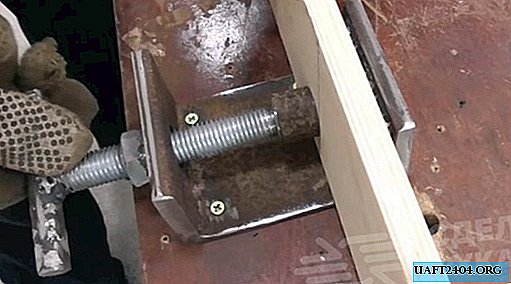
In the sole of the channel, we drill four holes along the edges for attaching a mini-vise to a table or workbench. Next, we cut off a piece of the hairpin of the required length: we fasten to the screw a clamping “penny” machined on a lathe to one end, and on the other a cross-piece from a round rod.
Finishing touch
Putting all the parts together, we get a very compact and easy-to-use home-made mini-vise for the home workshop. You can fix them to the surface of the table with self-tapping screws. See the assembly process in the video on the site.