Very often when using a manual milling cutter, the workpiece is fixed on a table or workbench using clamps or completely held in hands. But with this method of milling, in most cases, it is not possible to maintain high precision machining of the workpiece.

For more comfortable work, it is advisable to purchase a milling table. That's just most often such designs are expensive, and the dimensions do not always fit into the cramped space in the home workshop.
Therefore, the best option is to make a compact milling table with your own hands. Even the simplest design will increase the efficiency of working with a hand mill. And for the money it will come out much cheaper than buying a factory table.

The main stages of work
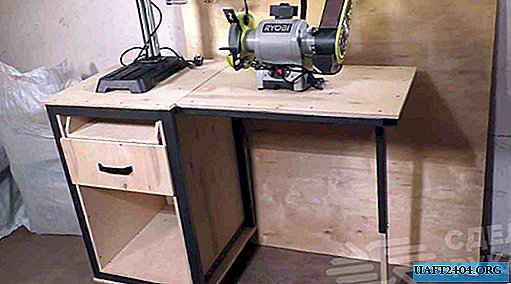
The master decided to use plywood as the starting material for making a home-made milling table. Well, this is logical - it costs less than dry timber from wood. First of all, it is necessary to cut all the blanks, and then the main frame of the milling table is assembled into glue and nails.

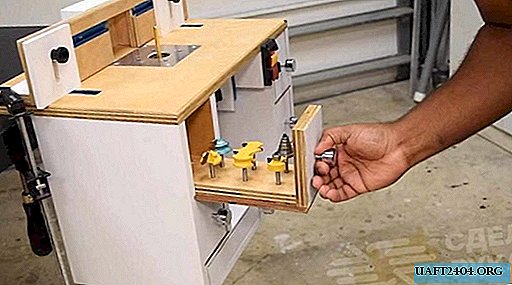
A milling cutter will be located in the central niche under the tabletop, and in the side niches there will be drawers for milling cutters and other useful "trifles" that can be useful in work.
At the last stage of the work, the boxes themselves are made, and a hole is drilled in the milling table. An additional metal plate is installed, and a clamping plate is also made.

For a detailed process of creating a compact milling table for a home workshop, see the video on the website.