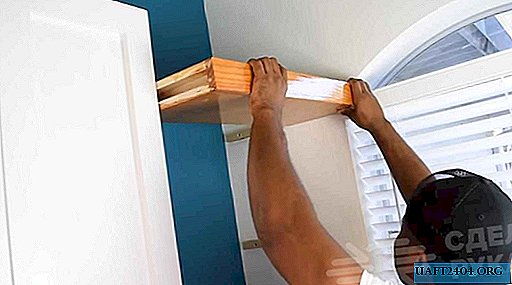
In this review, the author suggests making a do-it-yourself flush-mounted shelf. This option is useful if you do not want additional elements in the interior in the form of mounts for shelves. The shelf itself is mounted in a niche (that is, between two walls).

First of all, it will be necessary to saw the blanks from plywood of the right size. You also need to file small sticks (also from plywood), which will also be used in the process of manufacturing the shelf. The author does all this on a circular saw.
To make one shelf of flush mounting, you will need two identical pieces of rectangular plywood, three blocks of plywood and a regular wooden lath.

Three bars are glued to the first sheet at an equal distance from each other, and a wooden rail is attached, which will be the "face" of the shelf. A second sheet of plywood is glued on top.
The main stages of work
After gluing, the shelf must be sanded. This can be done either manually (with an ordinary sandpaper block) or with a grinder. Then the author proceeds to paint the shelves, having previously puttyed the caps of the studs on the front surface.

Instead of paint, you can also use stain, and then cover the shelf with varnish. At the next stage, the master makes two bars of plywood, in which he drills holes. They will need to be screwed to the wall.

For more information on how to make a flush-mounted shelf with your own hands, we recommend that you look in the video on the site.