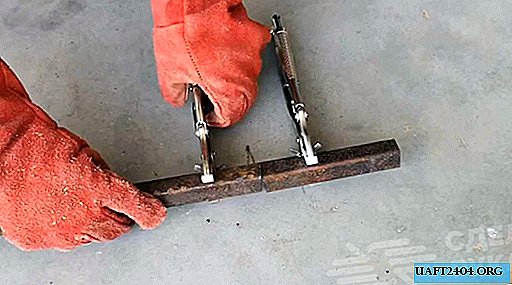
In this review, the author shows the manufacturing process of a simple but useful welding fixture. And for this he uses clamping pliers.

You will also need a piece of stud and four wing nuts. And to make such a "helper" can be literally 10 minutes.
With this home-made tool you can fix the workpiece in the desired position (both directly and at an angle).

The main stages of work
The first thing to do is to drill one through hole at the top of the clamping pliers. This can be done with an electric drill or on a drilling machine.

To make this homemade product you will need two identical clamps. Someone will say that it is a pity to spoil a new tool, however, in fact, the author does not spoil it. If necessary, clamping pliers can be used as intended.
After you have drilled the holes, it remains only to connect the two clamps together. To do this, the author uses a stud and four nuts.

We connect all the elements into one “heap”, and the device is ready for use. As you can see, quickly, simply and without unnecessary troubles.

Details on how to make a simple fixture for welding from clamping pliers, you can see in this video.


