Many masters feel the need for a rack for the grinder - whatever one may say, but the thing is convenient.

But not everyone has the opportunity to make a rack for angle grinders with their own hands. For example, there are no necessary materials or due to the lack of proper experience with welding.
But this is not a problem - a rack for a grinder can even be made of wood. It will take pieces of boards, MDF and plywood.
Well, let's get started? The first thing you need to do is the base of the rack.
To do this, cut off two pieces of the board that are identical in length and fasten MDF or plywood to them. In principle, you can even use chipboard.

After that, the side wall will need to be screwed onto the base. Pre-drill holes in it.

The main stages of work
At the next stage, we fasten two furniture rails to the side wall.

We cut two pieces of plywood along the width of the guides, and connect them with a loop.

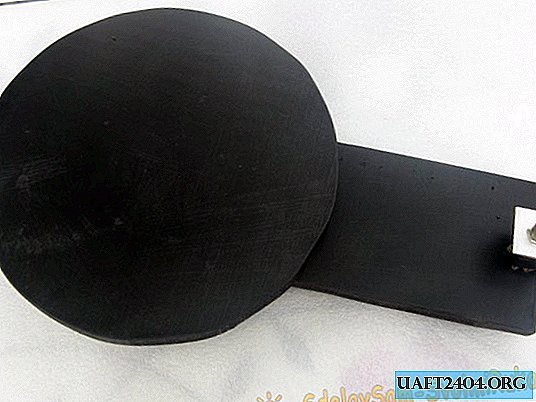
After that, the resulting part (platform for angle grinder) is fastened to the furniture rails.

We drill a hole in the plywood for the bolt so that we can fix the grinder.

We do not throw out the plywood trimmings - we make of them the simplest thrust bar for blanks.

If necessary, you can make it rotary. This will allow you to set the desired angle.
Well, at the last stage, we attach a piece of MDF to the upper part of the side wall. Although you can immediately cut the side of the desired geometric shape, and do not bathe.

This small "growth" above the side wall is necessary in order to install the spring (where without it?) To return the grinder to its original position.

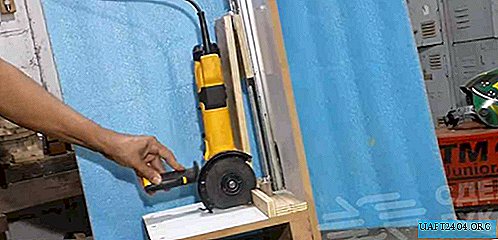
For details on how to make a simple and inexpensive rack for a grinder, see the video.