Share
Pin
Tweet
Send
Share
Send
Materials:
- solid wood lath;
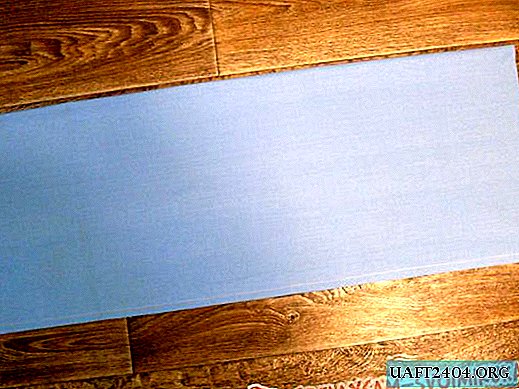
- metal ruler;
- hairpin M8;
- nut M8;
- manual star nut M8;
- 4 screws.

Thicknesser assembly

On the cross section of the rail 1.5-2 cm from the edge, marking is applied along the width of the ruler. A groove is selected on it with the help of a thicknesser or a chisel. The depth of the selection should correspond to the thickness of the ruler.

From the groove, indentation is made to the far end of the rail of 1.5-2 cm, after which the workpiece is cut at the mark made. Another piece of the same length is cut out of the rail, but without a groove.


In a blank without a groove, the center is marked with two diagonals. It makes a through hole with an 8 mm drill. On the one hand, it expands along the height of the M8 nut with a 12 mm drill.
An M8 nut is pressed into the expanded hole.


A manual star-shaped nut is screwed onto the stud all the way. The protruding part of the stud is trimmed to the height of the rail.

In order for the trimmed hairpin to twist normally, an emery should be chamfered at its end.

On a workpiece with a pressed-in nut, 4 points for drilling should be noted. To do this, it is better to use a marking compass. Marks are placed closer to the corners.


Both workpieces are joined and holes are made according to the marks along the depth of the selected screws. The thickness of the drill should be less than the diameter of the screw. The holes on the rail with the nut are countersink.

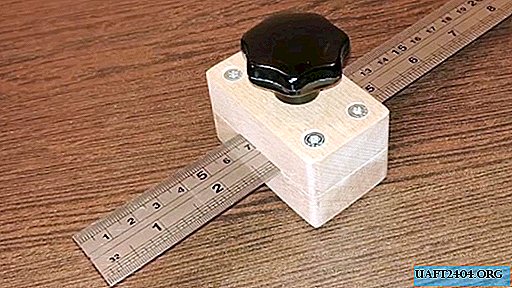
Workpieces are pulled together with self-tapping screws. A ruler is inserted into the selected groove and tightened with a stud with a star nut. If no defects are found, then the ruler is removed to grind the rails in one plane.


Grind all surfaces, grind sharp corners.

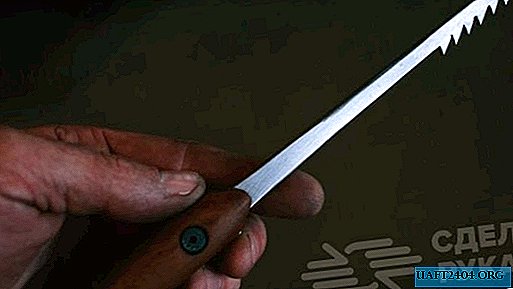
A shallow cut is made at the end of the line from the zero point with a file. It is necessary to stop the pencil lead. The ruler is inserted back into the emphasis from the rails, and the structure is assembled.

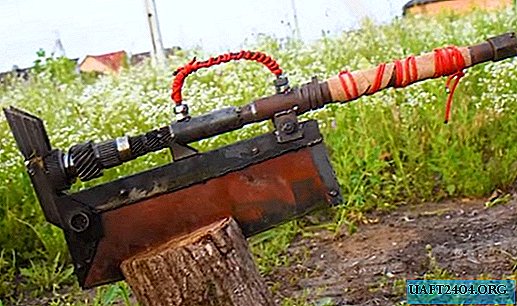
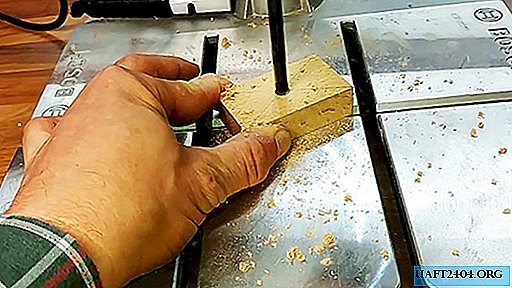
Using marking planers is very simple. The ruler extends from the stop to the desired distance and clamps. The wooden clip rests against the end face of the workpiece for marking, and a pencil is applied to the notch on the ruler. Moving the tool along the edge of the sheet, you can draw a parallel line.


Share
Pin
Tweet
Send
Share
Send