Share
Pin
Tweet
Send
Share
Send
I will need
- 3D glasses with lenses;
- car monitor of good quality with a small diagonal (it cost about 13 dollars);
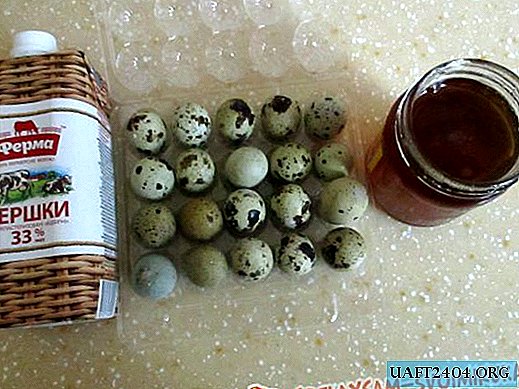
- 4 batteries from a camcorder, such as Samsung;
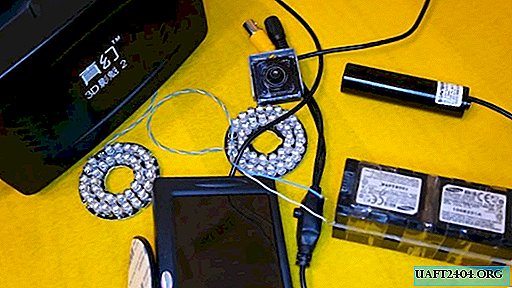
- two video cameras, one of which has a very good sensitivity for working at night;
- two LED backlight.
Here is the monitor.

Two cameras, one for close viewing and one for distant viewing.

The infrared backlight, which will be redone by me like this on glasses:

The monitor will be mounted in glasses like this:

Production of night vision devices
Pre-check how the equipment works. I connect a small video camera to the monitor, I supply 12 V - everything is fine. The monitor shows the image transmitted by the camera

The monitor, from which the stand leg was removed, is installed in 3D glasses. I remove the partition, excess stuffing and lenses. On the 3D printer I printed out an extension for the case of glasses so that my eyes would be comfortable looking at the monitor. The surface of the extension cord turned out to be not quite smooth due to the print speed of the printer, but this does not really matter.

I burned holes in the case of the glasses and secured the entire structure with plastic ties. For reliability, I fixed it with “Secunda” glue.


The attachment points on the case were neatly cut off and transferred to the lid so that it could open and not fall down. I also secured the hinges on the lid with ties. She also screwed a small screw to give additional structural strength and the ability, having unscrewed it, to get inside the device for repair or replacement of parts.

On the front side of the device I fasten a small video camera between two LED backlights. I fix the larger camera on top with the help of the mounts printed on the 3D printer, into which I screw the small screws. Everything is held securely.
For LED backlighting, I also printed on a 3D printer mounts of such a form that the side partitions covered the camera and did not allow it to be blinded by LEDs.


The front camera and LED backlight are glued. The wires from the LEDs are secured with ties and are led into the housing through a drilled hole. I installed control buttons on the case (on / off and switching to the far or near camera), connected wires to them. On the case I also placed a joystick, which is responsible for setting the far camera.

As a power source, I used 4 batteries from Samsung camcorders, each at 3.5 V.

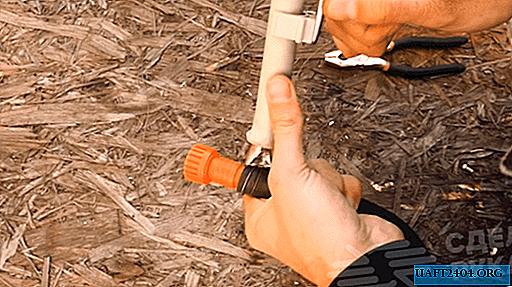
The batteries are fixed with adhesive tape in a single unit, the wires from them converge in the connector. The connector indicates where which wire is, as well as plus and minus. The battery is connected to the device using a home-made plug, in which sequentially soldered wires are fixed with glue and adhesive tape. The plug is connected to the battery connector, the plug to the night vision device.
There are still some problems with recharging batteries. First, the first battery in the unit is charged for an hour, then the charger is rearranged and the next one is charged. We still have to think about this problem.
First short-range camera:
I tested the device at night. If the near camera does not provide a good quality image, then the far camera does its job perfectly. People are visible at home, passing vehicles. And in the forest it will be perfectly possible to see the hare, the wolf, and our owl. Actually, I'm going to watch owls.


Far Vision Camera:


Like this! I was satisfied with the result.

Share
Pin
Tweet
Send
Share
Send