Share
Pin
Tweet
Send
Share
Send
When fishing, camping or camping, it can happen that drinking water has become unusable. Or ended, or spilled - it does not matter. In general, you can draw water in the nearest body of water, boil it, wait until it cools down and calmly get drunk. But in my opinion, this is a long time. It is much faster and more efficient to use a pre-made, self-made carbon filter. He, this filter, is essentially a camping accessory, and after its manufacture and successful use, he always lies in a camping backpack, just in case. Moreover, he almost does not take up space. And to make it a lot of time is not required.
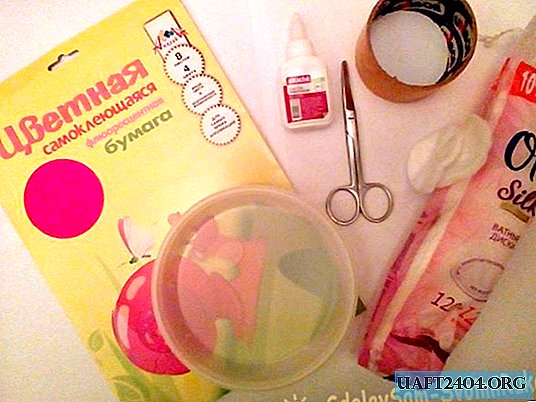
Will need
- Plastic tube (or something similar).
- Plastic bottle cap.
- Activated carbon 1.5 packs.
- Birch coal.
- Synthetic tape, 10 mm wide.
- Felt, 5 mm thick.
- Scissors.
- Ruler.
- Compass.
- 3 mm drill
- Burner or soldering iron.

Carbon filter manufacturers
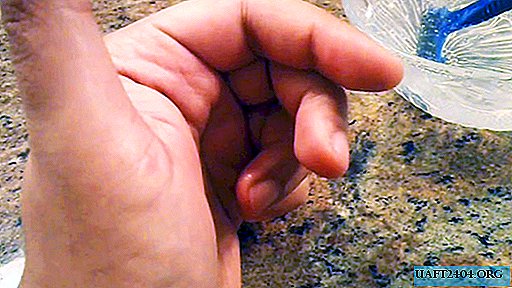
First you need to grind coal. First activated, then birch. In different dishes. In no case do not crush into fine dust, otherwise we will not get a filter, but a long cork! Pieces should be 1.5 - 2 mm. You can sift crushed coal through a suitable sieve.


After the coal is ready, let’s do some wadding. Using a ruler, measure the inner diameter of the tube and draw the appropriate circles on the felt with a compass. Cut out these circles.

This will be wads between the layers, so that later the coal does not mix inside the tube. It will take four of them. Now we wipe the tube with medical alcohol, thus disinfecting it, as well as removing the remnants of the contents previously stored in it. We wait until the alcohol dries inside. We put one wad at the bottom of the tube.

We fall asleep crushed activated carbon. We put the second wad on top of the coal.

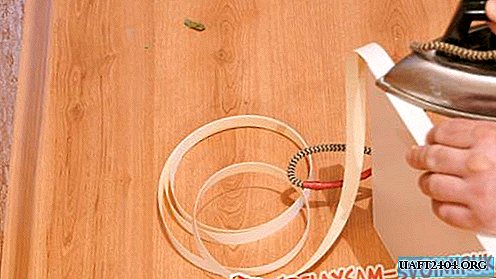
In no case do we tamper the layers, otherwise the water will be filtered very slowly. As they poured - so let it lie. Now we take a synthetic tape and wrap it into a roll, the size of the inner diameter of the tube.

We lower this roll flat into the tube. We put the third wad on top of it.

We fill in the crushed birch charcoal so that to the edge there is a place the width of which is the thickness of the last wad and another roll of tape.

Next, put the fourth wad and on top the last roll of tape. Thus, a complete tube was obtained.

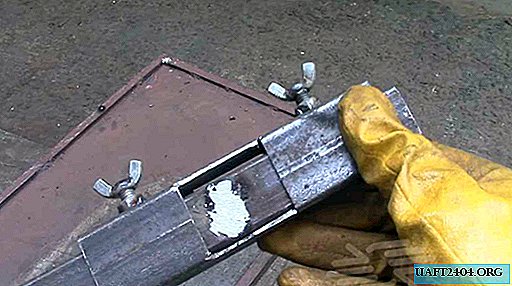
Now cut a hole in the bottom of the lid, about 10-12 mm. and, using a burner, solder the cap to the tube with the thread up, so that you can then wind the filter onto the bottle.


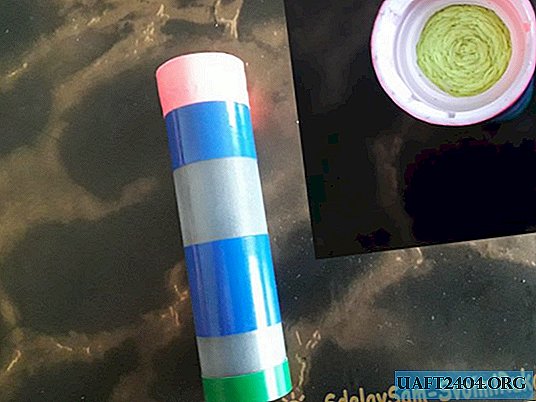
Glue in this case, for obvious reasons, I would not recommend using it, that's why I took a burner. For a more aesthetic appearance, I pasted the filter with colored stripes of self-adhesive film, although this is each individual matter. We make markings for the holes in the bottom of the tube where filtered water will flow from and drill.

Water filter test
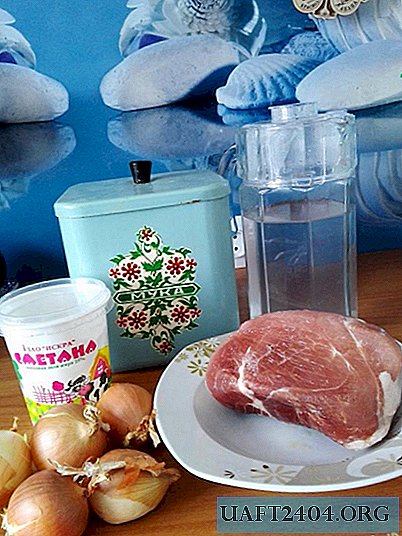
So the filter is ready. To demonstrate it, I filled a bottle of water from a rusty barrel and, wrapping a filter on it, poured this water into a clean jar.


The difference is obvious. This, of course, is not perfect sterility, and it does not flow as fast as we would like, but in an emergency, I think, it’s better than without a filter at all.
Share
Pin
Tweet
Send
Share
Send