Share
Pin
Tweet
Send
Share
Send
Will need
So, for the experiment we need:
- Non-metallic container - a beaker or an ordinary tray, the deposition process will take place here;
- Water, preferably purified;
- Copper sulfate (sold in stores for a summer residence);
- Acidic electrolyte for batteries (in car dealerships);
- Charger for 5 volts, 0.3 amperes;
- 1 kΩ and 220 ohm resistors to limit the applied current;
- Copper electrode.
We try on metal
We fill in a capacity of 100 grams of vitriol, pour half a liter of water and add 70 grams of acid electrolyte.
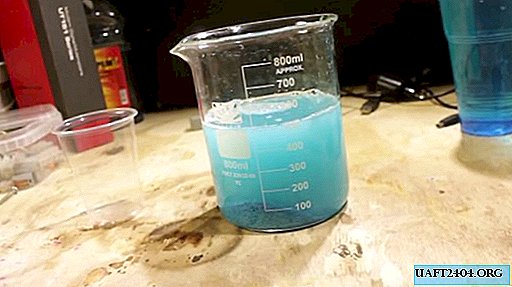
Mix and filter through the funnel and cotton pad.

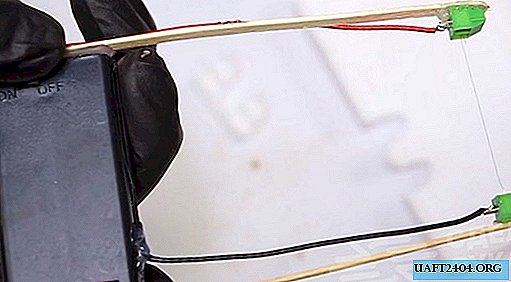
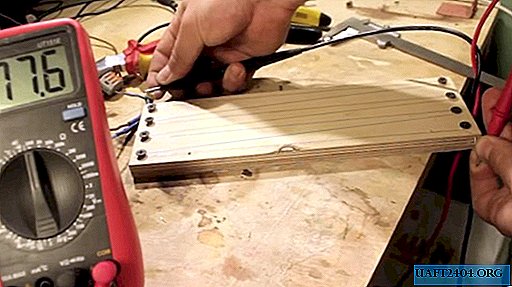
We install and fix the copper electrode:
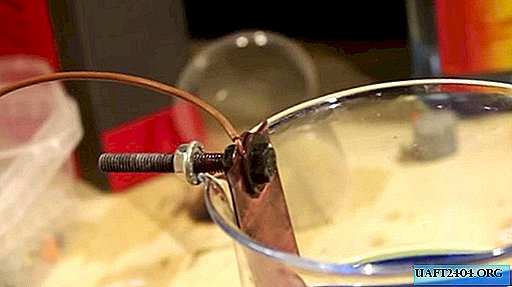
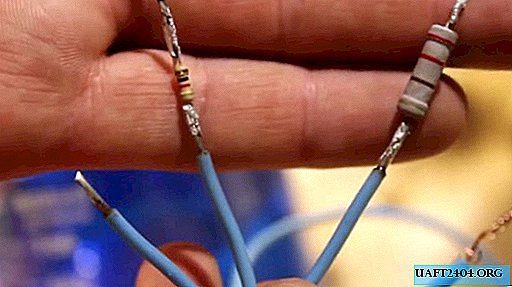
Plus power from charging will be connected to it. From the minus, we make three taps: we solder a resistor of 1 kOhm to the first, and 220 Ohm to the second.
Thus, we can conveniently regulate the supplied current.
When the charger is turned on, a chemical process called electrodeposition will begin. Under the influence of an electric current, copper atoms on the positive contact are oxidized and dissolved in the electrolyte, then they settle on the negative. The power supply current is selected at the rate of 1 Ampere per 100 cm² of surface to be coated.
Experience
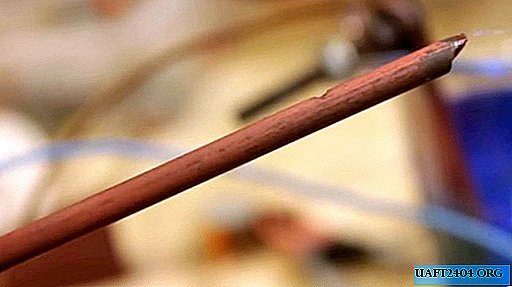
First, let's cover copper with a regular iron nail. Coverage area - 10 cm².
We clean with sandpaper:
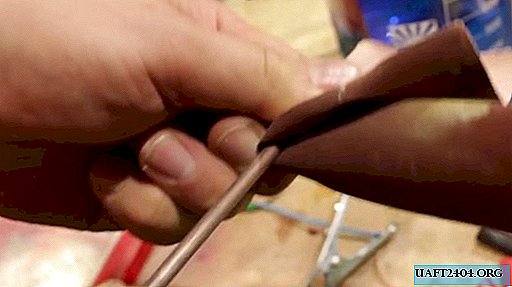
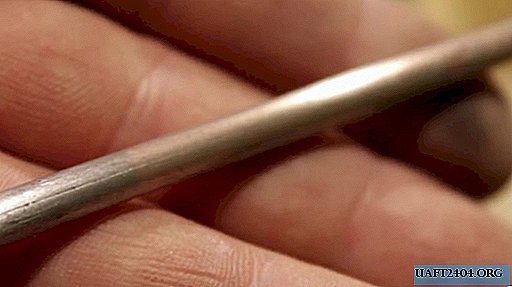
We connect to the negative power through a 1 kΩ resistor, and lower it into the solution. After 30 seconds, we take out and wipe with a cotton pad. As a result, the layer turned out to be quite loose and worn away.
Now let's try to create a really durable coating. To do this, we clean the nail and connect it through a 220 Ohm resistor, lower it into the solution for 10-15 seconds. Then we change the resistance by 1 kOhm and leave it for half an hour. Here's what happened:

This time the coating turned out to be durable and did not leave any marks on the disk.
After sanding, a small portion of the copper still covered the nail.
We will try to cover the lead cake with copper. If you connect it through resistance, even after a few minutes the result will be insignificant.
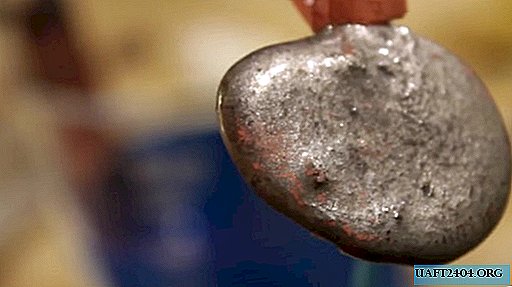
But it’s worth connecting directly, as in a minute the cake is completely covered with copper.

If the coverage area is too small, then a strong darkening can be observed on it:
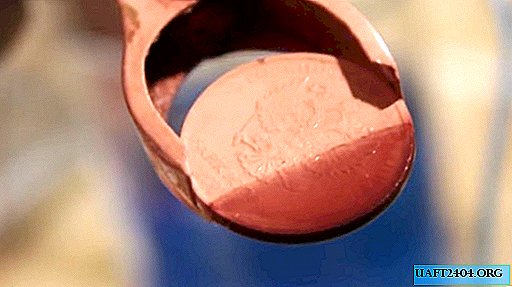
This phenomenon is called soot and it is associated with the fact that too much current flows on this surface.
We cover a copper nut
We figured out the metals, but what about dielectrics, because they don’t conduct current and the reaction simply won’t start. But there is a solution: we need to cover our item with conductive material. As the latter, graphite is excellent, from which rods for simple pencils are made.

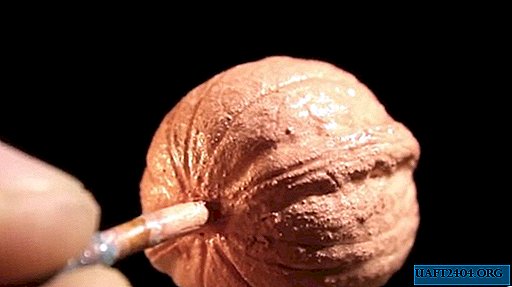
Take the softest pencil. Soft pencils are marked with the letter "B", and the number at the beginning indicates the degree of softness. A hard pencil handles fine details better. Coloring our nut.

Applying graphite in this way is a very tedious task, therefore, special graphite spray is sold in construction stores. He will cope with this task much faster.
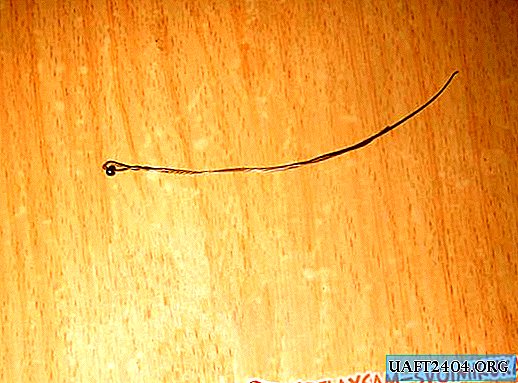
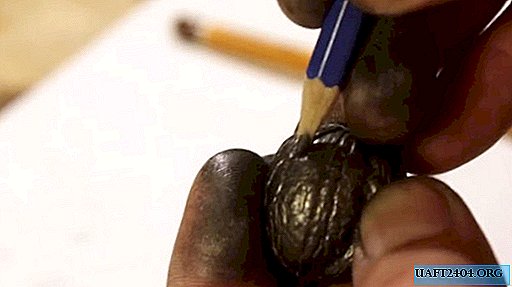
After coloring with a drill, we manually make a hole under the "twig". Pour super glue into it, clog it with a thick copper wire and fill it with graphite powder remaining after decorating the nut.

We connect minus power to the wire through a 1 kOhm resistor. At this stage, you should not apply a large current, otherwise the copper layer will turn out loose, which is not good. After half an hour, the nut is slightly covered with copper and the resistance can be reduced to 220 Ohms.

After some time, copper growth will slow down and you will have to further reduce the resistance
To do this, we use a block of wood and a nichrome thread strung by a snake on screws along its edges.
We set the resistance to 70 ohms.
When copper covers the nut completely, set the value of the impromptu resistor to 5 ohms and leave the nut for another five hours for a thick and even coating.
During this time, the copper electrode was greatly depleted.
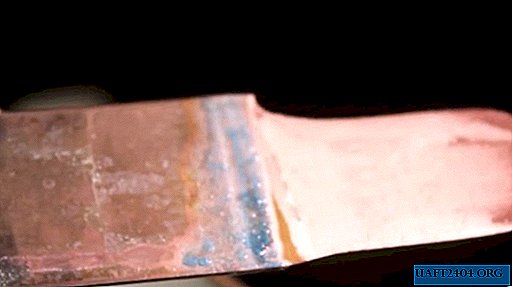
All this copper has settled on our nut, creating a rough layer.
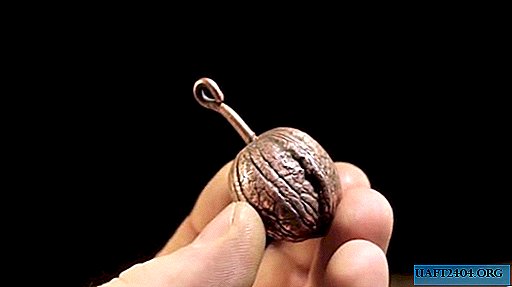
At the end of the process, the nut significantly increased in weight.
Treatment
To betray the copper surface with a pleasant sheen, we will cover it with a patina and then polish it.
For this we need:
- Ammonia, it is a solution of ammonia;
- Sulfur checker (can be found in stores for a summer residence);
- Chemical or disposable glass;
- Fine sandpaper.

Pour a little ammonia into a glass and crumble a little sulfur. Lower the nut there, as shown in the photo.

It is necessary to cover the glass with something, because hydrogen sulfide, a gas with a pungent odor, is released during the reaction. After 20 minutes, the nut darkened a lot, pulling it out of the glass. Bite off the "twig", bend the end with pliers in a loop.

It remains to polish the nut with a wet, wiped sandpaper.
Pass the chain through the loop, and that's it - the product is ready!

And that’s all for me. All successful experiments!
Share
Pin
Tweet
Send
Share
Send