Share
Pin
Tweet
Send
Share
Send
Remember how in an old Russian fairy tale: in order to revive a hero, you need to sprinkle him with "dead" water, and then drink it with "live" water. Today, "living" and "dead" water is neither fiction nor fiction. Of course, it is literally impossible to revive or kill someone by the action of such water, but such water does have healing properties.
Living water alkaline water is considered (pH = 10-11 units). Water softens the skin, has healing properties, has a rejuvenating effect, removes allergies, makes hair silky and healthy.
Dead water acidic (pH = 4-5 units), has good bactericidal and disinfectant properties, is used to rinse the mouth, throat and nose for colds, lowers blood pressure, destroys eczema, fungus, lichen, and helps with diarrhea.
A device for producing "living" and "dead" water can be made with your own hands. To accomplish this task you will need:
• 2 stainless steel electrodes;
• canvas bag;
• glass container (can);
• diode rectifier bridge for converting AC voltage to DC;
• power cord with plug;
• plastic cover.
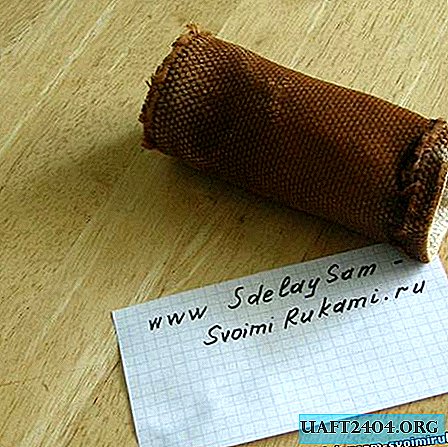
1. To make a canvas bag you need a non-rubberized canvas, you can use a fire hose (with a diameter of 50 mm). The length of the bag should correspond to the height of the glass jar into which it will be inserted. From cut off the desired length of the tarpaulin, make a bag. To do this, one side (the bottom of the bag) is sutured with a piece of the same tarpaulin or a piece of food plastic is inserted, as in our case.

2. Then, two electrodes (25x125x2) are made of stainless steel of 44 NTHYu grade.

3. Insert the electrodes into the plastic lid (you can use the usual plastic lid for cans). In this case, a plastic coffee maker lid was used. The distance between the plates is 40 mm.

4. To the plates of the electrodes, according to the circuit depicted in Figure 1.

Fig. 1 Schematic and structural diagram of the device of "living" and "dead" water.
Connect the rectifier diode bridge, marking the plus (+) and minus (-) of the exit to the plate, for the purpose of safety, it is necessary to cover the bridge.

5. A power cord (500-700 mm long) with a plug is connected to the diode bridge. All open electrical connections are carefully insulated. The device operates on an alternating voltage of 220 V.
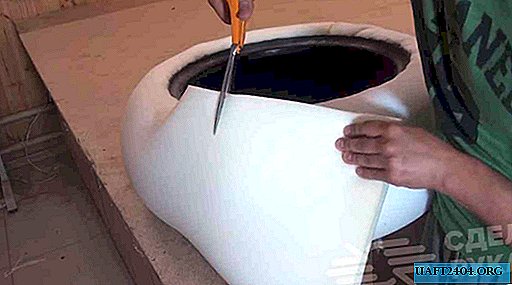
6. Insert the bag into a glass jar and pour water into both containers.
7. Place the electrode with the minus sign (-) in the canvas bag, the second electrode (+) is placed in the jar and connected to the network


8. The process of preparing water for 3 to 8 minutes. In the photo you can see the process itself.

Share
Pin
Tweet
Send
Share
Send