Share
Pin
Tweet
Send
Share
Send
Most hams, including myself, faced such a problem as leaving the multimeter turned on for a while and forgetting about it, which ultimately leads to frequent crown replacement due to low discharge. In this case, to solve this problem with food is not difficult.
Materials and tools
Materials:
- The li-ion battery is flat.
- Charging Board (tp4056).
- Boost Converter (XL6009).
- Switch.
- Postings.

Instruments:
- Soldering iron (solder, flux).
- Glue.
- Knife.
Alteration of the multimeter
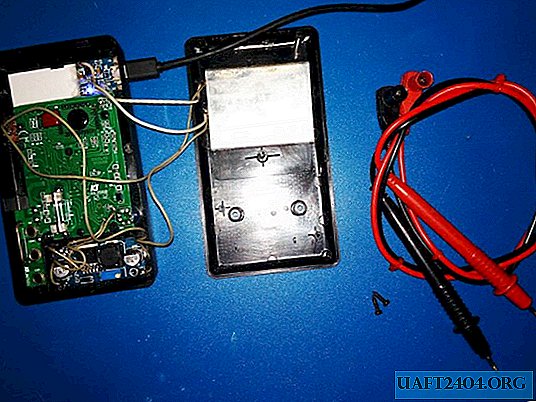
To begin with, I disassembled the multimeter, and decided on the location of the components in the case.

On the lid itself, with the help of side cutters, I cut off the protruding part, on which the battery will be attached in the future.

Previously, the battery needs to be charged to a full charge, I did this using the same controller.

The voltage on a charged battery should be around 4.2 volts. It is advisable to take the battery with a good capacity, in my case it is at 1100 mah.

I soldered the "+" and "-" wires to the battery, you need to solder very quickly, since the batteries can not be overheated.

Then I cleaned the lid and glued the battery to it with hot glue.

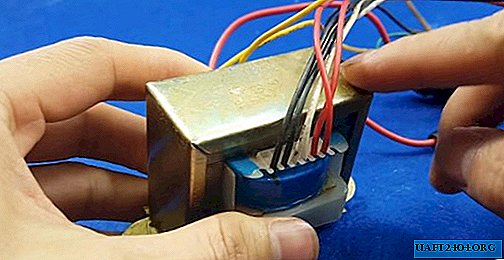
I soldered the plus or minus wire to the input to the converter.

And I soldered any of the remaining wires to one of the contacts of the switch, and from the switch I already soldered to the battery. The switch is needed so that the converter does not work in idle mode.

Next, I set up the voltage on the converter, which should be at least 9 volts.

Then I unsoldered the standard power wires from the board.

Instead of standard wiring, I soldered the output of the converter, observing the polarity.

Then I glued the converter to the place where the crown was previously.

I will install a switch on the front panel, for it I cut out such a window. The switch can be installed on the side, but it will not be convenient.

Next, I glued it to the second glue.

Next to the display, I made a hole for the battery charging board, and it would be even better to make a hole for the indication.

I also glued the controller to the second glue with the addition of soda.

In parallel from the controller, I soldered the wires to the battery.

That's all the multimeter with the introduced battery is ready, and now you will lose such a problem as replacing the crown. And another big plus is that if for example you measure only one voltage, then you do not need to switch to off mode, since there is already a built-in switch.

Share
Pin
Tweet
Send
Share
Send