Share
Pin
Tweet
Send
Share
Send
For the manufacture of spring envelopes we take:
- Light green cardboard, two A4 leaves;
- Scrapbooking paper in light green and light green colors;
- Pictures with inscriptions, cages, birds, different spring cuts;
- Felling: openwork heart, openwork napkin, leaves, inscription "From the bottom of my heart", butterflies, openwork flower;
- Cardboard flower die cut;
- A printed inscription about spring;
- Half mint pearl beads;
- Twigs are decorative;
- Tiffany color organza ribbon;
- Ribbon Mint Chiffon Roses;
- Stamens in complex bouquets are yellow and white;
- Roses paper salad;
- Chipboards-inscriptions wooden "Dream" and "Happy Birthday";
- Hydrangea paper yellowish;
- White ribbon with small pompomkami;
- Hole puncher;
- Ruler, double-sided tape, scissors, pencil, glue stick.
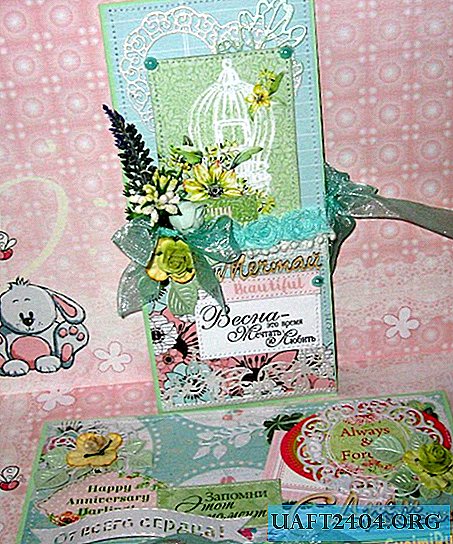

In this master class, we will make two types of envelopes: one in the horizontal standard form, as a simple envelope, and the second type of envelope will be vertical, like a postcard with only a pocket. For a horizontal envelope, divide the sheet of cardboard into parts of 9.5 cm, 9.5 cm and 7 cm.


We draw the lines of bends and add the base of the envelope along them.

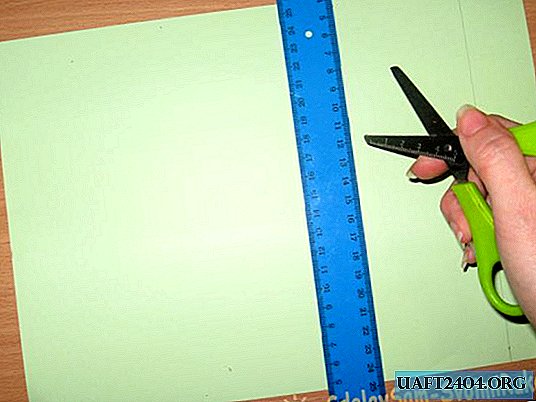
Now go to the vertical envelope and divide into three parts of 9.5 cm each.


We also draw scoring lines, on the right side we cut from the corner. We lay the foundation.


Cut off the strips of organza ribbon, glue to the basics of the envelopes front and back.


Now, from one sheet of scrapbook paper, we cut out three blanks for one envelope.


From another sheet we cut out such quadrangles.


Inside one envelope, which is horizontal, we make an openwork edge with a hole punch. We glue the scrap of the workpiece inside the envelopes and behind. Glue on double-sided tape.


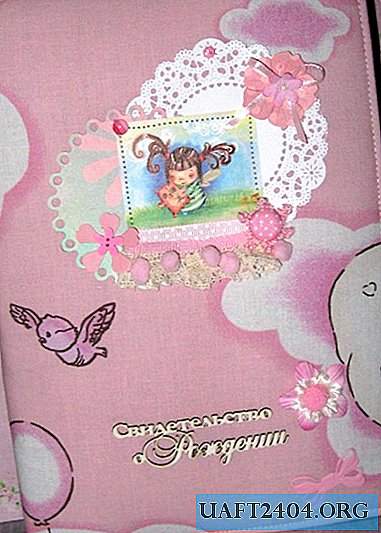
We still have two rectangles, we will decorate them in the spring mood. We glue die cuts, pictures, inscriptions. Firmware machine. Now we stick these scrapbook rectangles to the basics and flash our envelopes on a typewriter.


We collect bouquets of stamens, knit bows from ribbons and decorate our envelopes, as we see in the photo. We glue chipboard inscriptions with glue stick. All other decor elements are best glued with a thermal gun.


This is how we get fantastic envelopes with a spring mood with the help of our imagination and skill. Thank you all for your attention and bye-bye!


Share
Pin
Tweet
Send
Share
Send