Share
Pin
Tweet
Send
Share
Send
Currently, decoupage has become fashionable again. Modern materials allow you to draw a variety of objects using pasted drawings. Using modern paper napkins, you can use Easter decoupage technique to design Easter eggs for Easter 20017. It should be mentioned that in the current year 2017, the Easter holiday will be in April, the 16th.
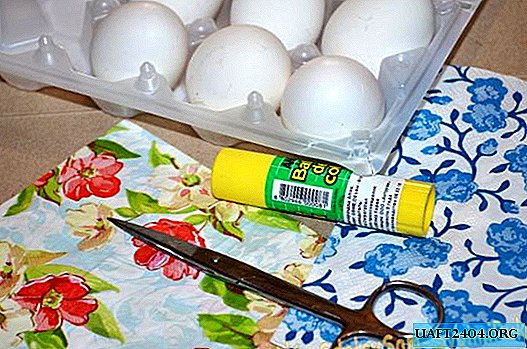
To decorate Easter eggs using decoupage technique you need to take:
- boiled chicken eggs;
- glue;
- three-layer napkins with any suitable pattern;
- scissors.
1. Dry the eggs after cooking.
2. Napkins divided into layers. Leave a thin layer with a pattern for decoupage.

3. Using scissors or with your hands, separate small drawings and compositions from the napkin.


4. Lubricate the surface of the egg with glue. It is convenient to use a glue stick to decorate Easter eggs using decoupage technique.
5. Attach a fragment of the picture to the egg and press it well to the surface.

6. Do this until the entire surface of the Easter egg is sealed with pieces of a napkin with a pattern.

Decorating eggs for Easter in the decoupage style is very good for children with senior preschool and primary school age. This will help not only the development of fine motor skills, but also strengthen family holiday traditions and child-parent relations.
Share
Pin
Tweet
Send
Share
Send