Share
Pin
Tweet
Send
Share
Send
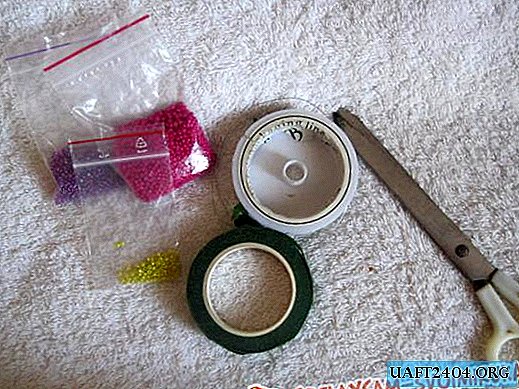
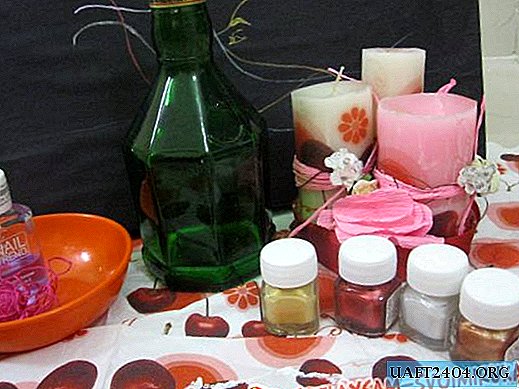
To create a clip "Violet" you will need:
- hairclip.
- gel with violet sparkles.
- scissors.
- tape 25 mm wide purple.
- a tape 50 mm wide in light lilac hue.
- thermo gun.
- lighter.
- middle for floral decorations.
The sequence of manufacturing clamp "Violet".
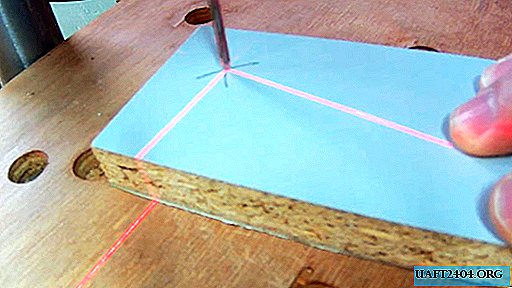
From a purple tape with a width of at least 25 mm, it is necessary to prepare squares, all sides of which should reach 25 mm.

Each individual part must be turned face down and determined the diagonal between the two corners from the opposite sides of the part and mark this line with a dotted line.

The square should be bent along the prepared line, giving the workpiece a triangular shape.

Now you should fold the right side at an angle of 45 degrees.

On the other hand, you need to do a similar action.

The result was a small part with two parallel lines in the middle. The blank must now be folded in half, guided by two lines in the center.

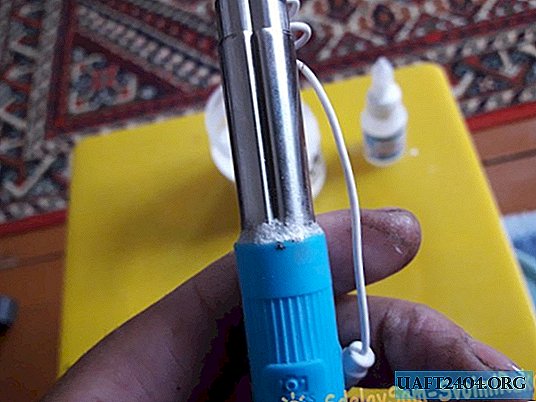
Now all sections of the tape are connected in one place. First you need to singe a corner to fix the part.

It remains to process the slices, finally filling out the petal. As a result, the petal is oblong in shape with a rounded apex.

Such petals will require 21 pieces to create a clamp.

The resulting petals should be combined in three pieces, gluing them into small twigs.

At the end of gluing the petals, 7 branches are obtained. Now the branches can be temporarily set aside and begin further work. Now you need a tape of a lilac hue, from which it is necessary to cut the blanks into the form of squares with sides of 50 mm.

Between two corners from different sides you need to mark a line, marking it with small dashed lines.

The prepared line is a guideline along which it is necessary to fold the squares in half, completely covering the wrong side.

The resulting triangle must be re-folded in half, repeating the action twice.

On the resulting triangular part, the sides of the tape with slices are assembled on one side.
Thanks to several folding of the tape into a triangle in the middle of the part, a loop was obtained, which will be required for the further creation of the petals.

The twigs of their purple ribbon set aside should be returned to work. Each twig must be placed in the middle of the blank of purple tape.

Paying attention that the details are located at the same level and do not protrude beyond the edges of each other, you should cut off the excess fabric, focusing on the edges of the twigs of purple ribbon. The slice must be treated with fire to solder the tapes together.

The depth of the petal is drawn in a similar way. Excess tape must be cut off, leaving the fabric of lilac color on a par with the purple blank. After removing the excess edges, the sections must be seared with a lighter, fixing their position.

It turns out a beautiful multi-colored petal.

Such items should be done in total 7 pieces.

Further, two-color petals need to be glued together, forming a circle from them.

The main blank for decoration is prepared, it remains to do additional details. For this, violet ribbons will require rectangles with a side size of 7x2.5 cm in the amount of 7 pieces.

On each rectangle, carefully cut the slices with fire. Then each blank must be folded in small folds.

Holding the creased parts, you should melt one of the sides of the workpieces, fixing the layers of tapes.

With a small expansion of the folds, details are obtained in the form of neat fans.

All 7 rectangles should turn out the same fans.

After that, it is necessary to glue the fans from the purple ribbon to the prepared base. Place the fan between the petals.

From a lilac ribbon, a circle with a diameter of 4 cm will now be required.

The blank must be treated with fire, protecting from shedding and immediately attached to the wrong side of the future jewelry.

The metal clip remains attached over the glued circle lilac color.

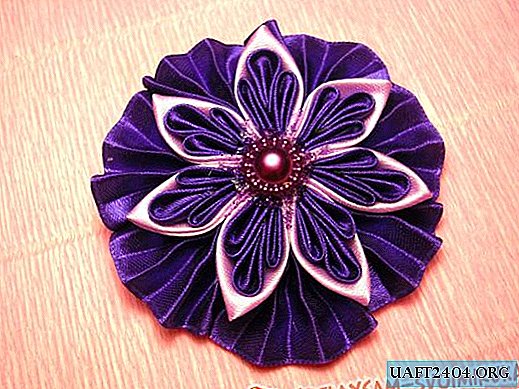
On the front side, the decoration should be supplemented with a beautiful center and several lines of glitter gel.
The violet clamp is ready!
Share
Pin
Tweet
Send
Share
Send