Share
Pin
Tweet
Send
Share
Send
A little need to invent, take everything you need and make a postcard box with a secret with your own hands, and a very good helper in this we will serve as a needlework technique for working with paper scrapbooking. We will do not just a postcard, but a volumetric one in the Pop-Up style. For the master class we need to take the following:
• Marble pink cardboard A4;
• Scheme;
• Scrapbook paper in several shades, in pale pink;
• Pictures with bunnies, owls and flowers;
• Two congratulatory inscriptions "Happy Birthday": one stamped, the second printed;
• Pearly openwork circle of white color;
• Butterflies cut out in pink;
• Hole puncher;
• Flowers from different materials pink, red, two-tone;
• Pink berries with sugar powder;
• White ribbon of organza;
• Buttons pink and small half beads;
• Double-sided tape;
• PVA glue;
• glue gun;
• Other different decor at will;
• Lighter, scissors, ruler, pencil.
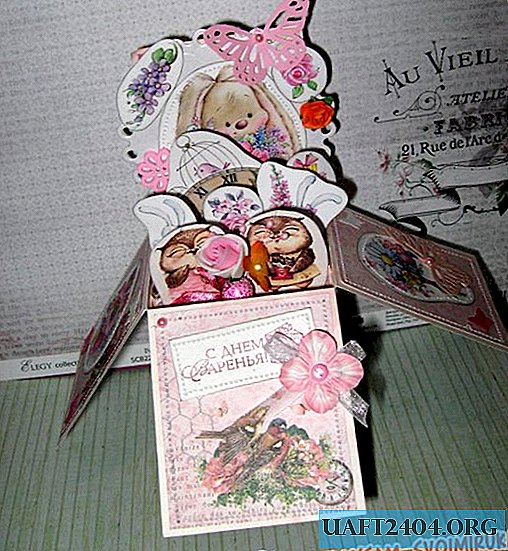

So, for starters, we cut out 18 * 30 cm from marble cardboard, now according to the scheme we divide it into the following parts. We make incisions where the lines are crane-colored, and in the rest we make scoring with scissors.


Now we cut out such scrap paper blanks from various papers. From the remaining cardboard we make three jumpers, we decorate them with a curb hole punch, we glue scrapbook blanks on them.


Pictures are cut out, smoothly rounding the edges, tinted with an ink pad. We glue double-sided tape pictures to paper.


We sew on the machine pictures and inscriptions. Now we glue all parts from scrapbook paper to the base.


We also sew on the machine. We glue the circle with the bunny on the base rack, then glue the pop-up card itself and then the jumpers, we glue all the PVA.


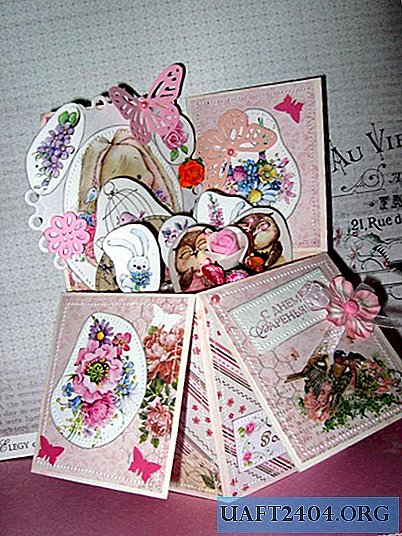
We glue on the jumpers of the picture, as well as on strips of paper that we stick to the jumpers, it turns out three-dimensionally.


Remained decor, which is glued with a gun. Done! A postcard box looks like a box, and at the same time it can be folded and a postcard!


Share
Pin
Tweet
Send
Share
Send

