Share
Pin
Tweet
Send
Share
Send
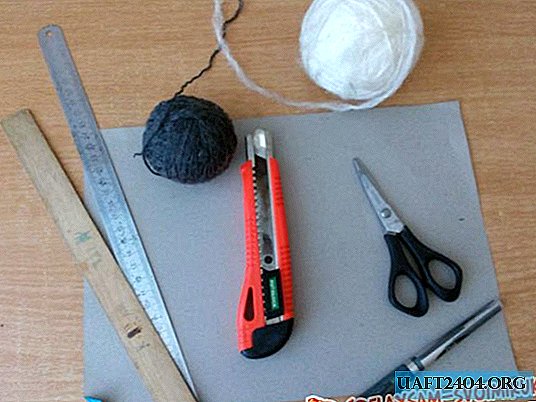
• Cardboard or very heavy paper;
• Glue (preferably a moment);
• Pencil;
• Ruler. To decorate you will need:
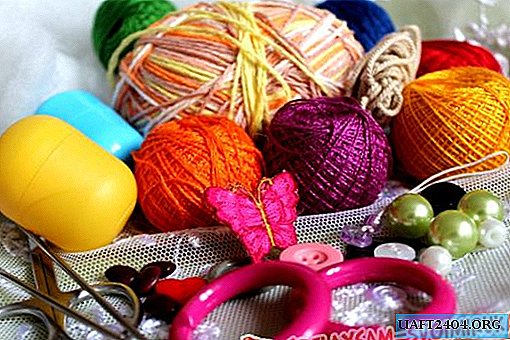
• Buttons (a lot of different sizes);
• Thermogun;
• Paints.
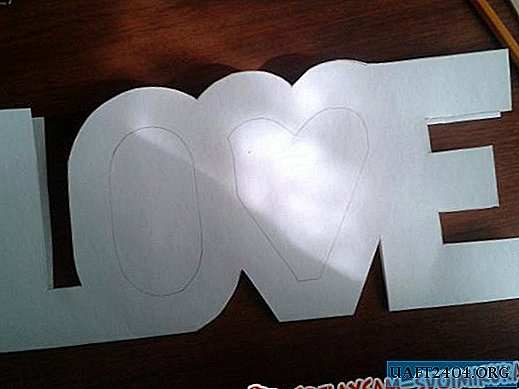
First you need to come up with the shape of your frame. Then, having decided on the shape and its size, you need to draw it on thick paper. We cut it out and circle this same shape on two different cardboards. Cut them out. However, it must be remembered that if you need to cut out a place for a photograph in the first cardboard, then you should not do this in the second, because from this piece we will make the back wall of our frame, on which there should be no holes. We glue all the parts together, not forgetting to leave a place so that you can then insert a photo (or photos, depending on the shape of your frame) and you can assume that the main part of the preparation of the frame is finished.
Now move on to decorating. For greater convenience, you should first paint the entire frame, so if you cover up white gaps at the end (as is done in the photographs), it may not turn out quite accurately. Then proceed to gluing the buttons. The first layer is better to glue large buttons that will serve as the background for your frame. Then glue smaller. And at the end, as the finishing touches, you can add a lot of small ones that will help make your frame brighter and more interesting. Color, of course, choose yourself. To make the frame look more interesting, you should choose different buttons with a variety of decor. If you left the painting of the frame for later, then just after gluing the buttons, you can begin to do this by painting all the gaps with your chosen color. The last step is to create a leg. True, if you want it not to be standing, but hanging on the wall, then you can simply glue several satin ribbons to it, giving them the appearance of a loop. The leg can be constructed as follows. Glue from a cardboard (or from several layers of thick paper, since the weight of the frame will fall on the leg, and with so many buttons it is not small), the right triangle and glue the frame to the hypotenuse. Do not forget to paint it at the end. If the shape of the frame is the same as in the photo, do not forget to cut holes in the side that is the hypotenuse, otherwise your leg will be visible in front, thereby damaging the appearance of the frame. And perhaps on this your frame can be considered done.
In the same way, you can arrange not only the frame, but also mirrors and other elements of your interior.


Share
Pin
Tweet
Send
Share
Send

