Share
Pin
Tweet
Send
Share
Send
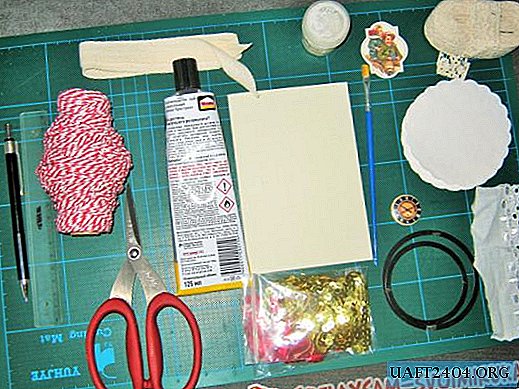
- box (you can use a box for shoes or small household appliances) - a frame for the future organizer. In order for the organizer to be strong, it is better to use a box of thick thick cardboard.
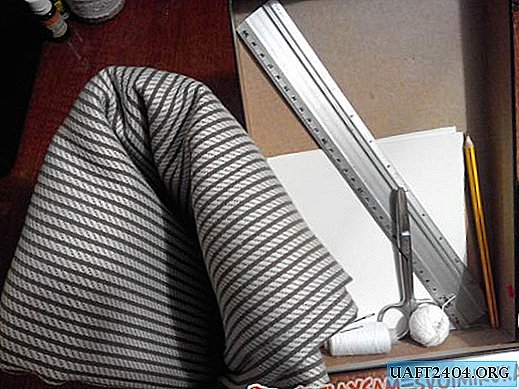
- cardboard;
- a piece of fabric for decoration;
- scissors;
- Ruler and pencil;
- threads (for internal seams and finishing of external sections) and needles;
- PVA glue.
Stages of Robots:
1. Prepare all the materials necessary for the master class. The manufacturing process will be more pleasant and faster if everything you need is at hand. The fabric is best used from a dense fabric. It is better to choose the color of the fabric so that there is no need to wash the covers on the organizer too often.
2. First of all, you need to decide how many cells you need. Be sure to check whether the size you have chosen is suitable for your laundry. It should be borne in mind that the sizes of men's and women's underwear are significantly different. At the bottom of the box, draw a grid for future cells. Depending on the size and number of cells, it is worth calculating how many details you need. From thick cardboard, cut out the parts for the organizer partitions. On the finished parts, make slots for fastening the partitions. Fold the finished parts in the form of a mesh.


3. Using septa, cut pieces of fabric. Make allowances at the edges so that the edges look neat. Glue the finished partitions with fabric using PVA Glue. Leave the septum to dry under pressure overnight. When the partitions are completely dry, cut off the excess edges and threads. Cut into the partitions of the slot to connect the cells. Glue Pva perfectly combines fabric and paper or cardboard, leaving no residue on the fabric. Super glue can leave dark marks on the fabric. PVA glue is not toxic, so the use of gloves in the work is not necessary, and will not carry any danger to your laundry.


4. We sew an external cover for an organizer. Take measurements of the box. With a pencil on the fabric, draw a rectangle that will correspond to the size of the box (close the bottom and outer walls). In order to make it more convenient to sew, the folds of fabric can be ironed with an iron. From the wrong side, stitch the fabric with the usual basting seam in the form of a cover. It is not necessary to process the outer edges of the cover; the edges will be closed by the inner cover. At the fabric cut for the future cover, trim the excess fabric that forms when the cover is stitched.


5. We sew an internal cover for an organizer. We sew the inner case as well as the outer case.
6. The outer edges of the inner cover should be wrapped with decorative threads. This will protect the fabric from spilling threads and give the cover completeness and accuracy.


7. Assemble all the organizer parts together. Your new underwear organizer is ready! If the organizer will be used by a man, then it can be left in this form. But if the organizer is designed for a girl, it can be decorated with lace or beads at your discretion.


Inspiration to you!
Share
Pin
Tweet
Send
Share
Send