Share
Pin
Tweet
Send
Share
Send
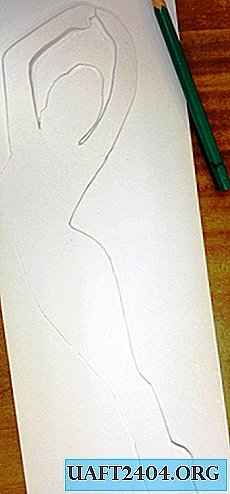
The pattern was designed by FrontDesigner 3.0. To do this, measured the length, width and height of the camera and added 0.5 cm on each side for the seam. I also decided to make a pocket for spare batteries.

I printed the pattern on the printer and glued it


To check the correct design of the pattern, I sewed a mock-up of a cover made of thick fabric.


Next, I pasted the pattern on the wrong side of the fabric, circled it with a marker and cut it out.


We begin to manufacture a pocket for batteries. We make the markup, cut out the corners and the valve and sew the corners on a sewing machine.


Mark the place where the pocket will be located and sew it.


Next, from the wrong side, we sew the cover valve and turn it out.


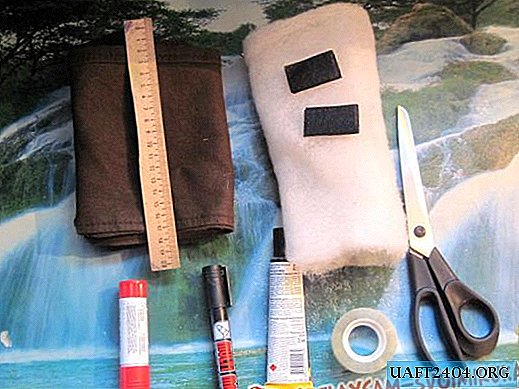
We cut the synthetic winterizer, coat the workpiece with “Moment” glue and glue the synthetic winterizer to the workpiece.


We coat the edges of the workpiece with glue and glue our "sandwich".


It remains to sew both sides on a sewing machine. We do it from the wrong side. So that the pocket valve does not interfere, glue it with tape.


We turn the cover on the front side and sew on Velcro to the valves.


Case for the camera is ready.


Share
Pin
Tweet
Send
Share
Send