Share
Pin
Tweet
Send
Share
Send
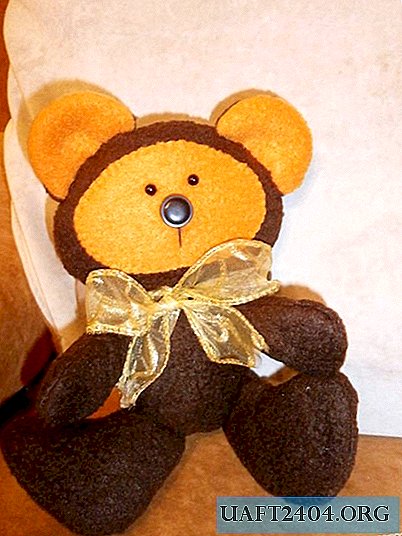
Even a novice in this type of needlework can make such a product. The list of materials necessary for work and a detailed step-by-step instruction on how to complete a passport cover is presented to the attention of readers below.
Preparatory stage.
To make a passport cover, we need the following materials and tools:
• felt of five different colors;
• threads for embroidery (floss);
• needle;
• pins;
• scissors;
• paper;
• pencil;
• ruler.
Instructions for making a passport cover with applique "Sovushka"
We sew a cover.
1. Take measurements from the passport. Complete the cover base pattern. To do this, add 10 centimeters in width to the resulting dimensions. This is necessary in order to make turns (5 cm on each side). On top and bottom of the pattern, add 0.5 centimeters. For example, a document has a size of 12x18 cm. We cut out a blank: width 5 cm + 18 cm + 5 cm + 28 cm, height 0.5 cm + 12 cm + 0.5 cm = 13 cm. So the main part of the cover should be 28x13 centimeters in size. . Bend the side parts and pin them with pins.

2. Sew one side of the cover with a seam 2 in front of the needle "(stitches). Insert the passport to make sure once again that the measurements and pattern are done correctly.

3. Sew the second side. The cover for the document is ready. Getting to the decor for him.

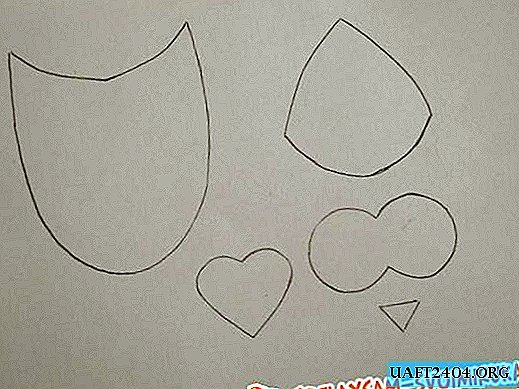
We carry out the application of felt fabric in the form of an owl figurine.
1. On paper, draw patterns of all the details of the application.

2. Transfer the patterns to the felt of the selected colors and cut them.

3. On the main part of the appliqué (body), sew in the stitches the part of the tummy.

4. Next attach the beak.

5. Embroider cilia in black on the eye detail. We have a owl - splyushka, so her eyes are closed.

6. Sew the eyes to the torso, laying them slightly on the upper edge of the beak detail.
7. The heart is attached last.
The figure "Owl" made of felt fabric is made.
We make the cover applique
1. Attach the appliqué to the front of the cover on the right and sew with stitches. On the wrong side, fasten the thread with a knot and cut it.
2. Insert the passport into the case. The work is over.

Do you want your main document to be “dressed” in a beautiful, stylish, and most importantly - exclusive cover? Then use our master class to make it. Pleasant minutes of creativity and excellent results.
Share
Pin
Tweet
Send
Share
Send