Share
Pin
Tweet
Send
Share
Send
So, for work you will need:

- metal base frame for cabochon. Such basics are usually sold in shops for creativity and needlework, where, in addition to the framework itself, you can purchase all the associated accessories;
- white acrylic paint (titanium white). It will be used for priming the inner surface;
- Images printed on office paper, or special decoupage cards;
- transparent epoxy sticker. The use of such a self-adhesive coating in the work will greatly simplify the process of making a pendant. Typically, to fill the molds and give them the effect of a glass coating, an epoxy resin is used, the work with which requires certain skills. It is worth saying that with the help of this material you can create very unusual products, using your own, shaping, and as a fill. But in this lesson we will use a finished epoxy sticker;
- water-based PVA glue;
- glue for decoupage;
- brush with soft pile;
- accessories for jewelry (chain, connecting rings, clasp, bail);
- scissors.
Working process:
1. Using a thin brush, prime the inside of the frame with white acrylic paint. A primer on a surface is a mandatory action in any kind of decoupage, since a drawing, if applied to an unprepared dark background, may lose its brightness and clarity. Set the frame aside until it dries completely.

2. In the meantime, prepare the image for transfer to the base. Cut the selected motif that can be printed on the printer to the size of the inner diameter of the frame. Usually the standard size of the frame for the cabochon is 18x25 millimeters.

3. Then cover the image with decoupage adhesive on both sides. Varnished paper will be stronger and will not tear when applied to the substrate, and the pattern will retain brightness. Leave the image for a while.

4. When the white acrylic paint and the images are completely dry, you can proceed to transfer the picture to the frame. Using a brush, apply PVA glue to the cabochon base and to the back of the image. After about a minute, when the glue is slightly absorbed, gently pry the drawing with a brush and place it in the center of the frame, aligning it with your fingers. Press the pattern from the center to the edges so that excess glue and air bubbles come to the surface.

Remove excess glue with a dry brush. Now you need to leave the pendant for a while so that it dries.
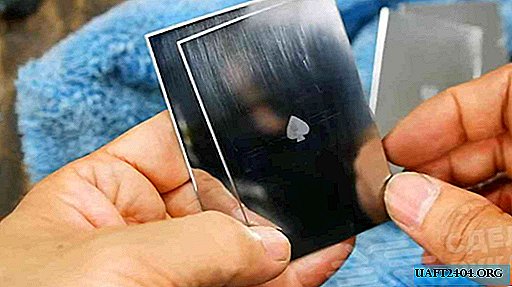
5. Now you can begin the final stage: applying a transparent coating. Carefully remove the sticker from the paper base and attach to the image while aligning the coating. Press it firmly to the base.


6. Attach the bail into which the chain is threaded and the clasp.

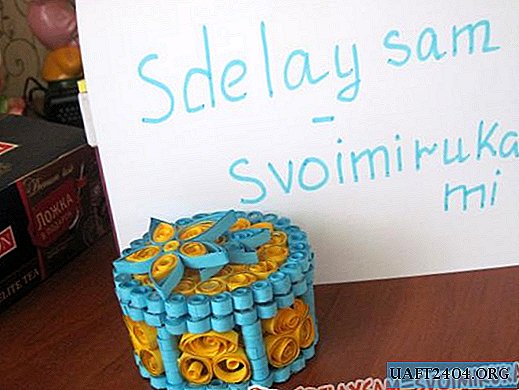
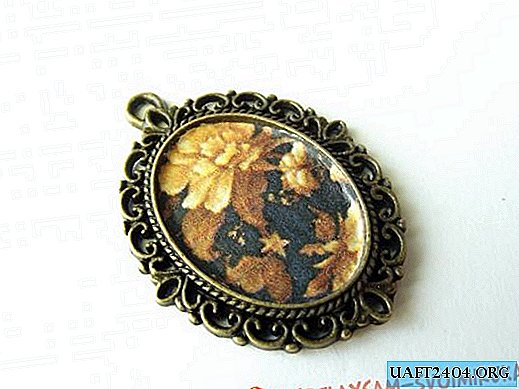
Exquisite pendant with a romantic pattern is ready!
Share
Pin
Tweet
Send
Share
Send